
I have had the majority of parts for these conversions knocking around for a while. I have just not bothered to do anything with them. However I feel I should do at least two things with those parts:
- Write a blog post as its been way too long since anything of real substance was posted on this blog 😉
- Convert them before Corvus Belli actually get round to releasing their official sculpts.
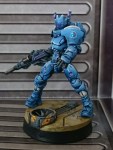
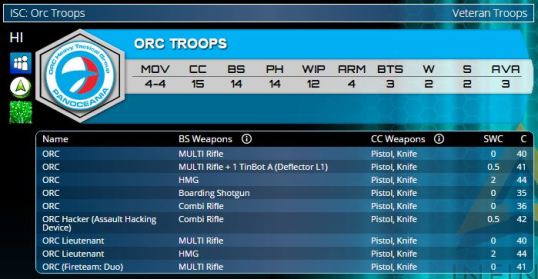
The ORC has an availability of 3, across vanilla Pano and both Sectorials that allow access to them (NCA and SAA). It’s a cheap no frills HI model, and probably because of that it is over looked in list building in favour of other HI with more toys. The new sculpt ORC model is one of my favourites and is the reason I started playing Pano to set off with.
I want to field a Haris link in my NCA army list, and so I wanted to convert two new sculpt ORC models to the appropriate weapon options. This post is about converting the ORC armed with the HMG weapon option.
Enough preamble – on with the converting!
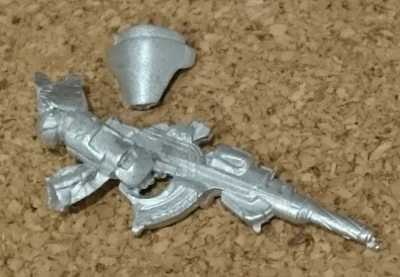
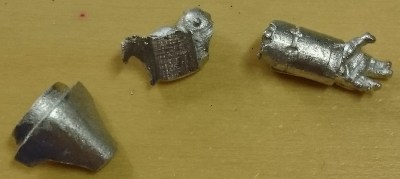
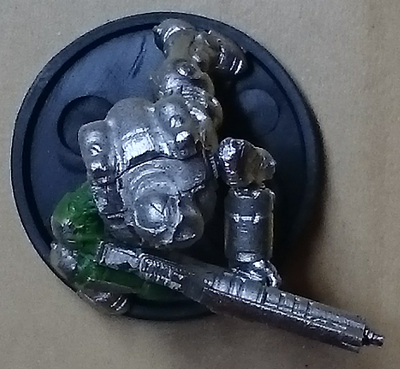
Model Components Used
- Multi-rifle ORC from Icestorm/Pano Starter – I used Shae Konnit’s Infinity split box deals
- HMG arm from Svalarheima Nisses HMG blister
[A note on the HMG size – comparing the Nisse HMG to the Aquila Guard HMG I was a little disappointed to find that they are different sizes. I wanted to use the larger Aquila HMG, and you could just straight up swap the arm, but I also wanted the HMG positioned horizontally. It looked a lot more effort to get the Aquila’s arm positioned horizontally so I settled for the smaller Nisse HMG]
Overview
Replace Multi-rifle with HMG, position the gun to be pointing in the same direction as the model is looking and parallel to ground. Place other hand across body to steady the HMG.
Method
I’ll be honest, I didn’t really know how I was going to do this conversion while I was doing it and taking photos. So if the following description seems disjointed it is because I have written it following the order of the photos and how I did it, rather than following a more logical flow. This is not a step by step method, it is more of a series of brief descriptions of the various processes with supporting photos.
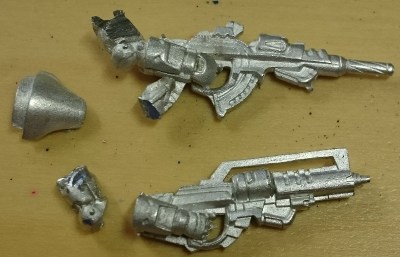
Removing The Shoulder Pad
To remove the pauldron from the arm I used a jewellery saw with a fine blade. I clamped the arm in a hobby vice, using a couple of sections of coffee stirrer sticks to protect the detail of the arm from being damaged. Using the saw I then carefully cut behind the pauldron as best as I could.
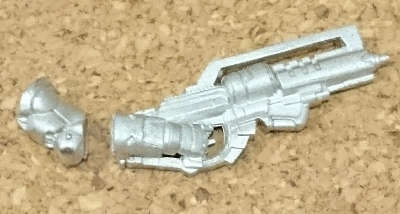
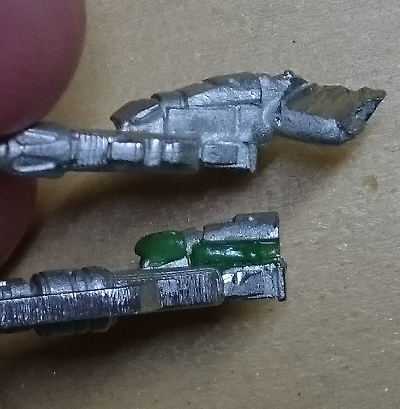
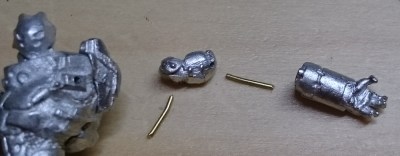
Nisse HMG Arm Cut Up
I cut the Nisse HMG arm just behind the vambrace, before the elbow joint. I also removed the small section of shoulder armour from the *cough* shoulder joint of the Nisse arm. The remaining upper arm segment would be the basis for the upper arm of my finished conversion.
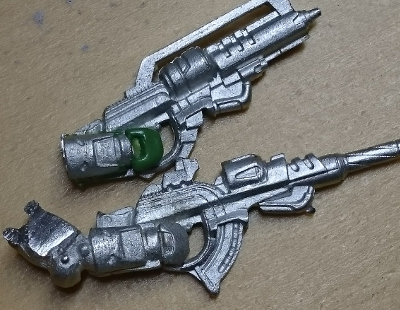
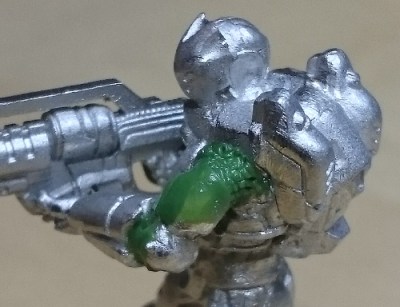
Greenstuff Part 1
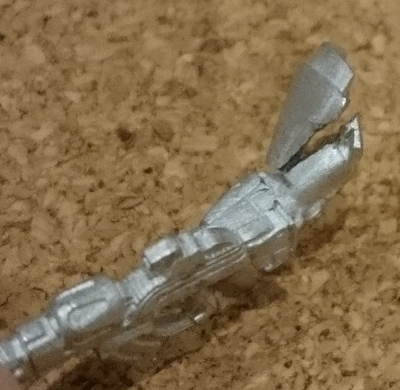
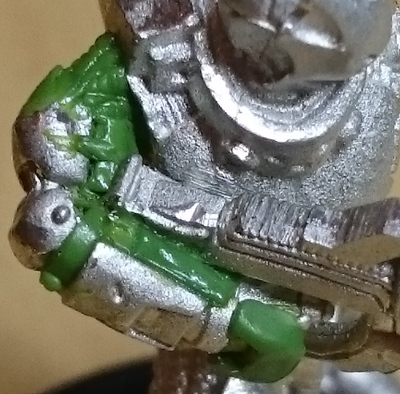
The MI (Medium Infantry) forearm is, unsurprisingly, more lightly armoured than the HI (Heavy Infantry) forearm. I chose to try and replicate the HI vambrace and gauntlet armour using greenstuff. This ended up being much simpler than I expected, because the MI armour is similar in appearance to the HI armour, it is just missing a few additional plates. It is these plates that I added with greenstuff. One on top of the lower arm, the other beneath. Finally I added a ‘C’ shaped plate to the back of the hand.
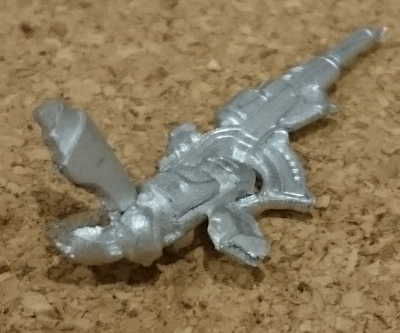
HMG Arm Construction
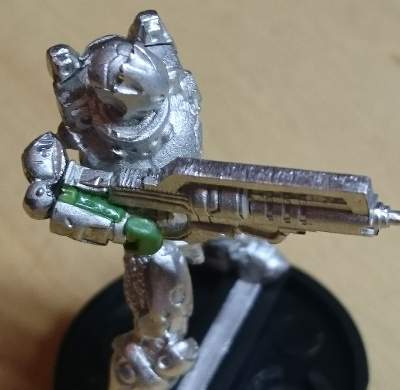
After messing around with the various parts for a while I decided the best way for me to continue was to pin the HMG in place and build the rest of the arm to fill the gaps. I decided where in relation to the model’s torso I wanted to position the HMG. I then drilled and pinned the HMG to the ORC’s torso. This anchored the HMG and forearm in place allowing me to complete the upper arm more easily.
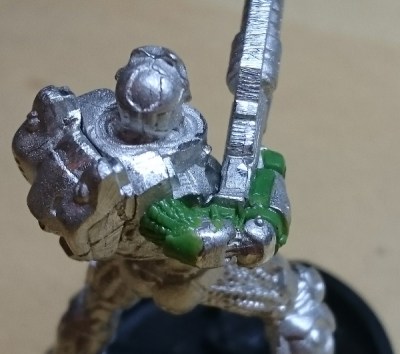
 The red arrow is pointing to the pin location.
I experimented with locating the Nisse upper arm segment in position to fill the gap between the HMG forearm and the ORC’s shoulder. To get the elbow to locate in a way that I was happy with required material to be removed from the upper arm segment, predominately on the bicep portion of the arm close to the elbow. I did this with a pair of side cutters and a needle file.
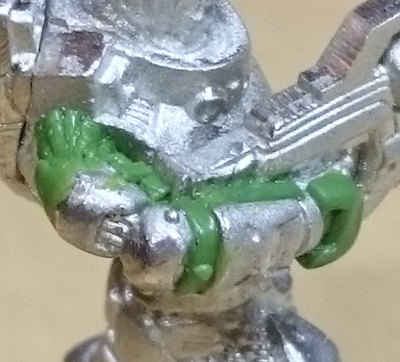
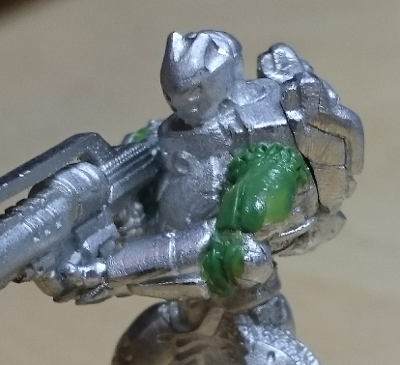
Greenstuff Part 2
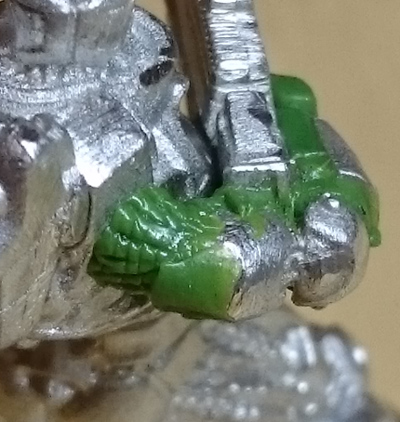
With the arm glued in place I needed to fill the gaps. For the gap at the shoulder I tried to recreate the undersuit/powercabling/fibre bundles visible on the other HI models in Pano range. At the eblow I tried to make the armour look like a HI arm (I had to look it up – I think the plate armour protecting the elbow is called a Couter). I am not that skilled at sculpting, so I did my best and hoped that any mistakes would be hidden by the shoulder pad.
With the right arm pretty much complete, its onto the left arm.
ORC Left Arm Cut Up
The left arm had the same treatment as the right arm, the shoulder pad was cut off carefully. While the forearm was removed between the vambrace and the elbow (couter?) armour.
Constructing The Supporting Arm
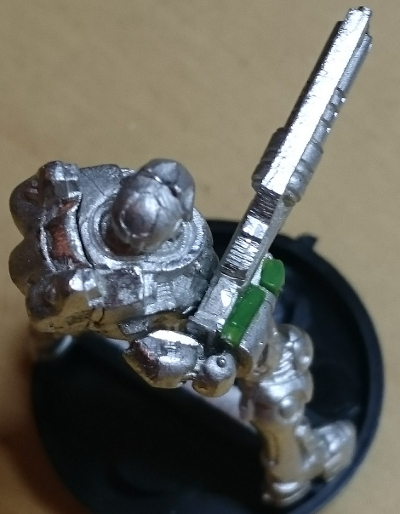
I decided to place the left hand underneath the HMG supporting it at what looks like a defined grip on the stock. As I was unsure exactly where the arm would sit in relation to the HMG and shoulder I decided to approach building this arm differently from the left arm.
I pinned the arm together in such a way that would allow me to manipulate the arm in to the required position. I did this by using a thin pinning material, in my case 0.5mm brass rod. I drilled into where i thought the centre of each joint would be and left a small gap between parts when I pinned them together. I also used just a little spot of glue on the ends of the brass rod. This would allow the brass rod to bend and the arm to be positioned where I wanted it. There would be some gap filling to do but the hope was to have a more natural looking shape to the arm.
Spot the mistake – the upper arm is the wrong way round in the image, with the elbow joint closest to the shoulder.
Once I had shaped the arm into a position I was happy with, I glued it in place at both the hand and shoulder.
Before going any further I had a go at removing more material from the top of the left shoulder. In the above images you can see, especially in the last image, that the top of the left arm sticks out a long way. I filed that upper arm down quite a lot before adding any greenstuff.
Greenstuff Part 3
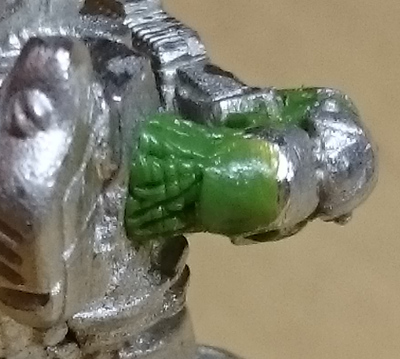
Just like before on the right arm I tried to recreate the underarmour of the HI suite with greenstuff. I also tried to complete the look of the plate armour at the elbow joint and upper arm where I’d lost detail in removing the pauldron, and filing the upper arm down.
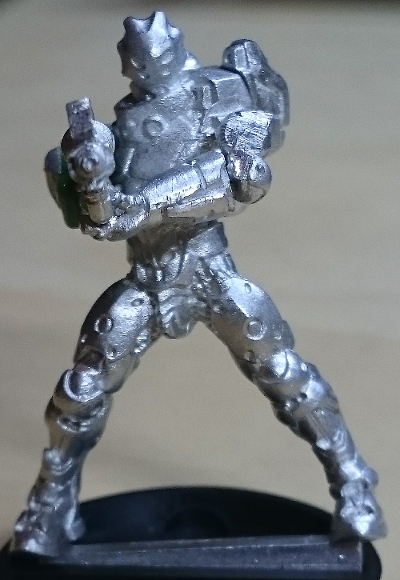
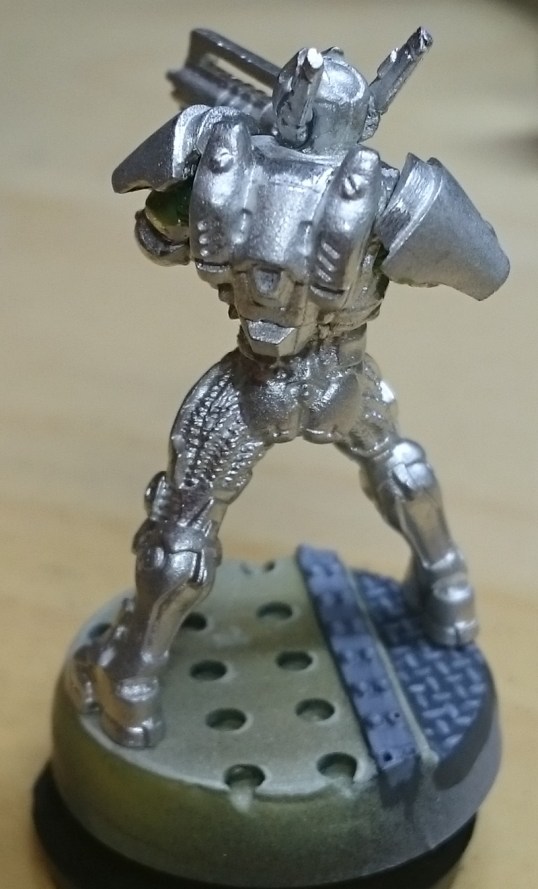
 You can see in the last image from the rear that the left arm sticks out from the shoulder quite far, I should have tried better to hide this with my sculpting. However this is about as good a job as I believe I could do with my limited skills.
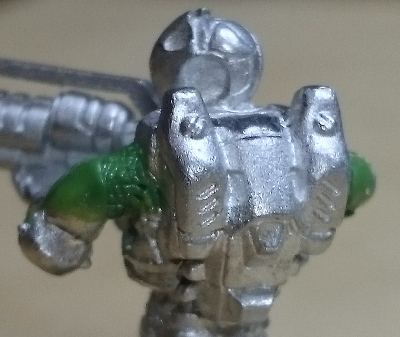
The Pauldrons
I placed the right hand pauldron onto the shoulder of the HMG arm and found that it sat too high. To rectify this I removed material from the underside of the pauldron as best as I could. A dremmil or rotary tool would be ideal for this I think – unfortunately I’ve misplaced my cheapo rotary tool – so I used a drill bit and a craft knife.
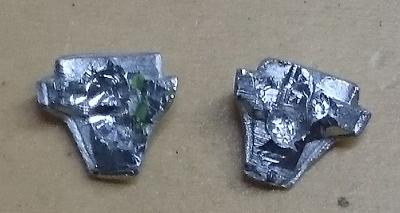
The undersides look a mess because of using pin vice and a knife.
Once I had the pauldron sitting correctly I glued it in place. I actually used a small blob of greenstuff instead of glue. This is because of the uneven underside of the pauldron – the contact area for glue would be a little suspect. To complete the conversion I used the same process for the left pauldron as I did for the right earlier. Again the shoulder armour helps to hide some of the rough greenstuff work on the arms.
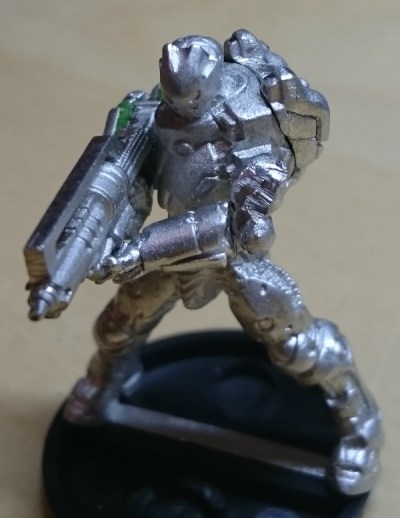
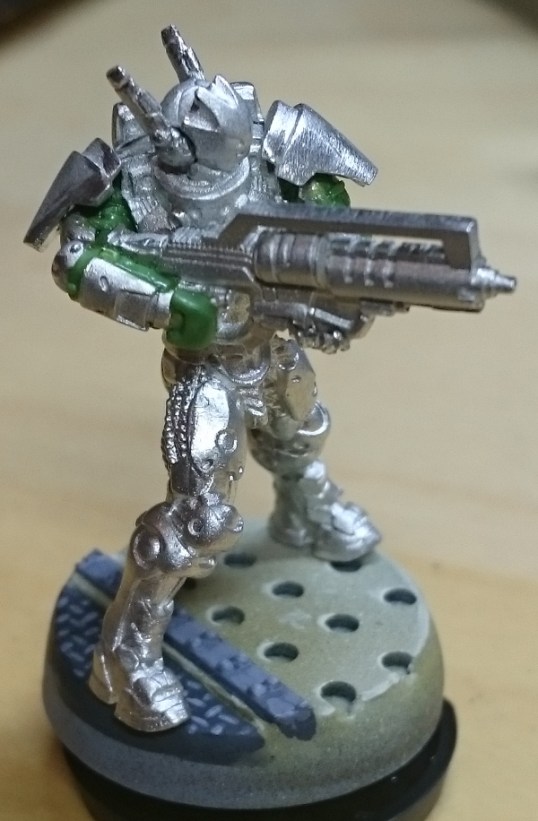
Model Complete
All that remained to do was add the antenna and remove the tab to allow the model to be based on my resin bases.

Next up boarding shotgun.
So Covus Belli, how long….
As mentioned at the start of this article, I have had this conversion in mind for quite a while and have only just got round to doing it. I converted a Ninja with tactical bow towards the end of 2015, and 9 months later Covus Belli previewed their own as part of the Red Veil starter box in July 2016. Corvus Belli previewed a dossier for the ORC Troopers during GenCon 2016 which implies that some new sculpts are on their way. How long do you think it’ll be before release, now I have converted my own, 9 months?


I made easier http://www.coolminiornot.com/394388?browseid=14447071
http://kdvpaintblog.blogspot.ru/2016/02/2.html
Pingback: Painted Panoceania ORC HMG | Splayed Paint Brush
Great readingg your post