World Book Day was last week. A day all parents dread. Why? Because the kids are invited to dress up as their favourite character from a book in school.
I asked my lad, Josh, who he wanted to dress up as. I have to admit I had an inkling I knew what the answer was going to be.
Mando
“Hang on a sec”, I hear you say, “Mando is from that Disney+ TV series!”
Well the conversation went a little something like this…
“Who’d you want to dress up as, Josh?”
“I dunno.”
“Well, who is your favourite book Character.”
“Do they have to be from a book?”
“Yes, it’s world book day”
“Can they be from any book? Not just a school book?”
“Yes, any of your books, not just your school books”
“My favourite book is the graphic novel of the Mandalorian. Can I dress up as the Mandalorian, dad?”
At this point mum scoffed and dismissed the idea as too hard and nonsense. I, on the other hand, felt that my new printer* was more than up to the task.
And I had already found the files needed.
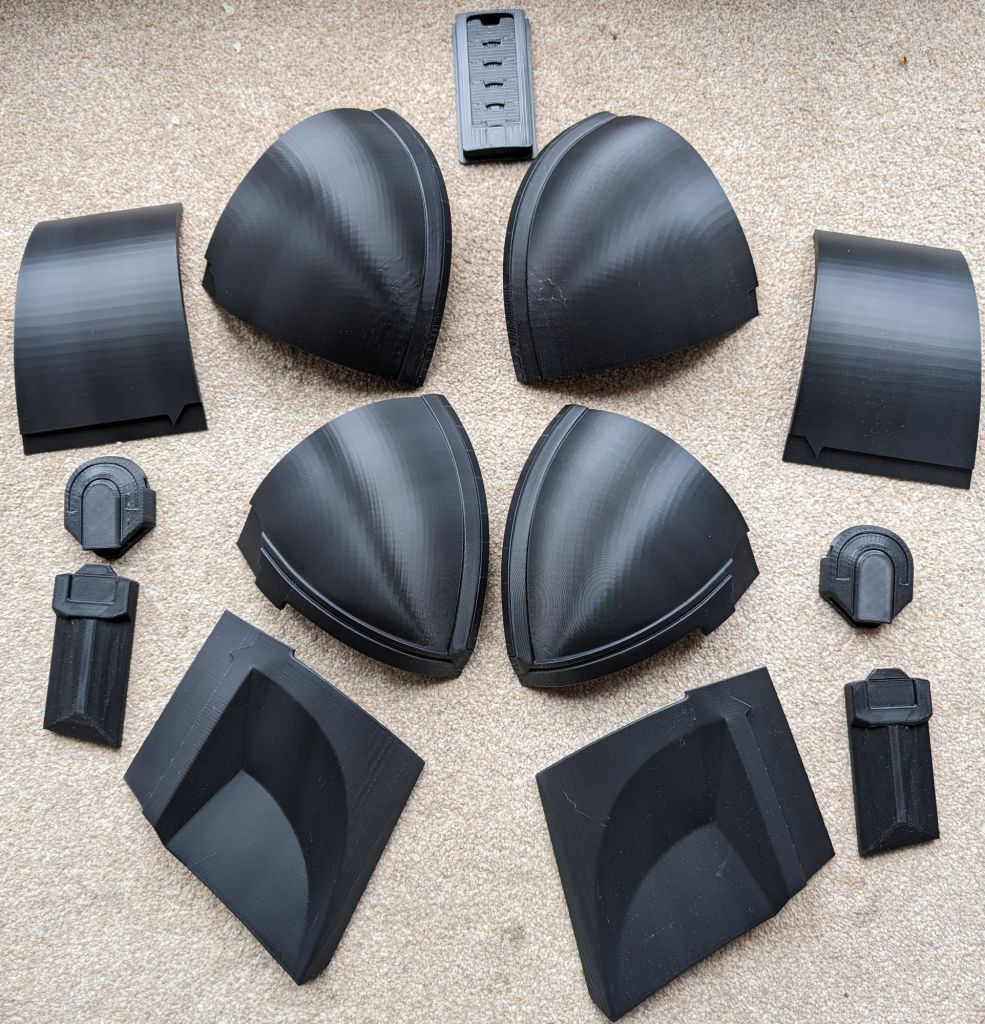
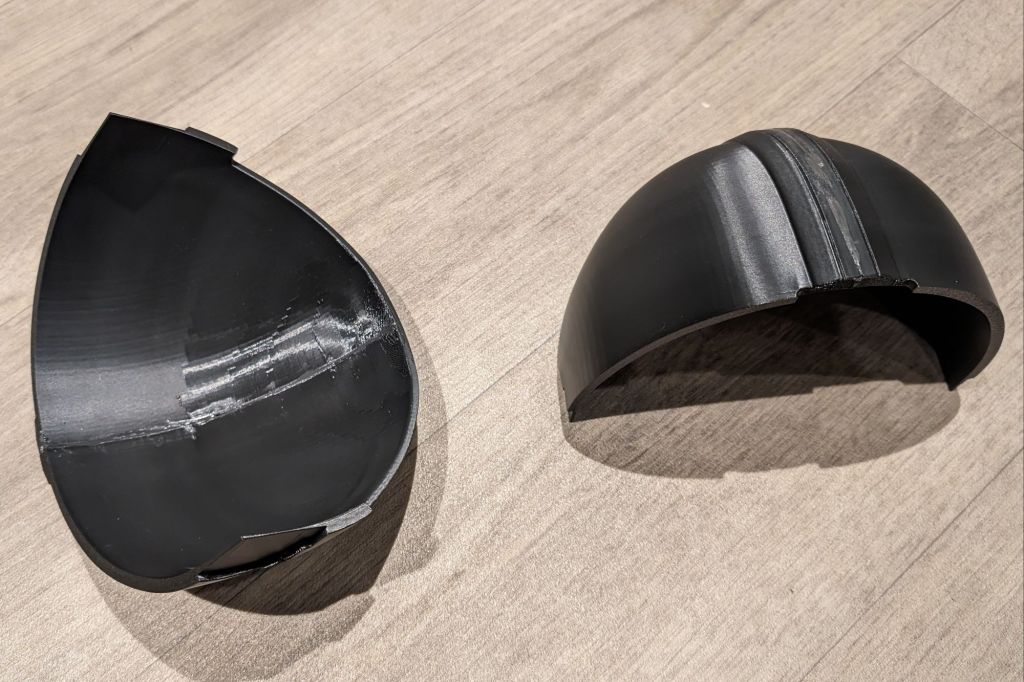
I started with the helmet, after all this is ultimately the most “Mando” piece of the costume. The linked files comes as a single piece for large printers or split up for smaller print beds. The P1S needed the helmet split up. But printed nicely in three build plates.
Not much thought or effort required on the print side. On the assembly side though, I decided to go full mini modeller and got the pin vise out. The contact surfaces were not big so I thought some pinning would help the structure. I also used a two part epoxy glue to stick it together with; JB Quick Weld.
*blog posts have been a bit lacking I guess, but last October I replaced the old Ender3 with a Bambulabs P1S. And it’s so much more awesome than the old E3.

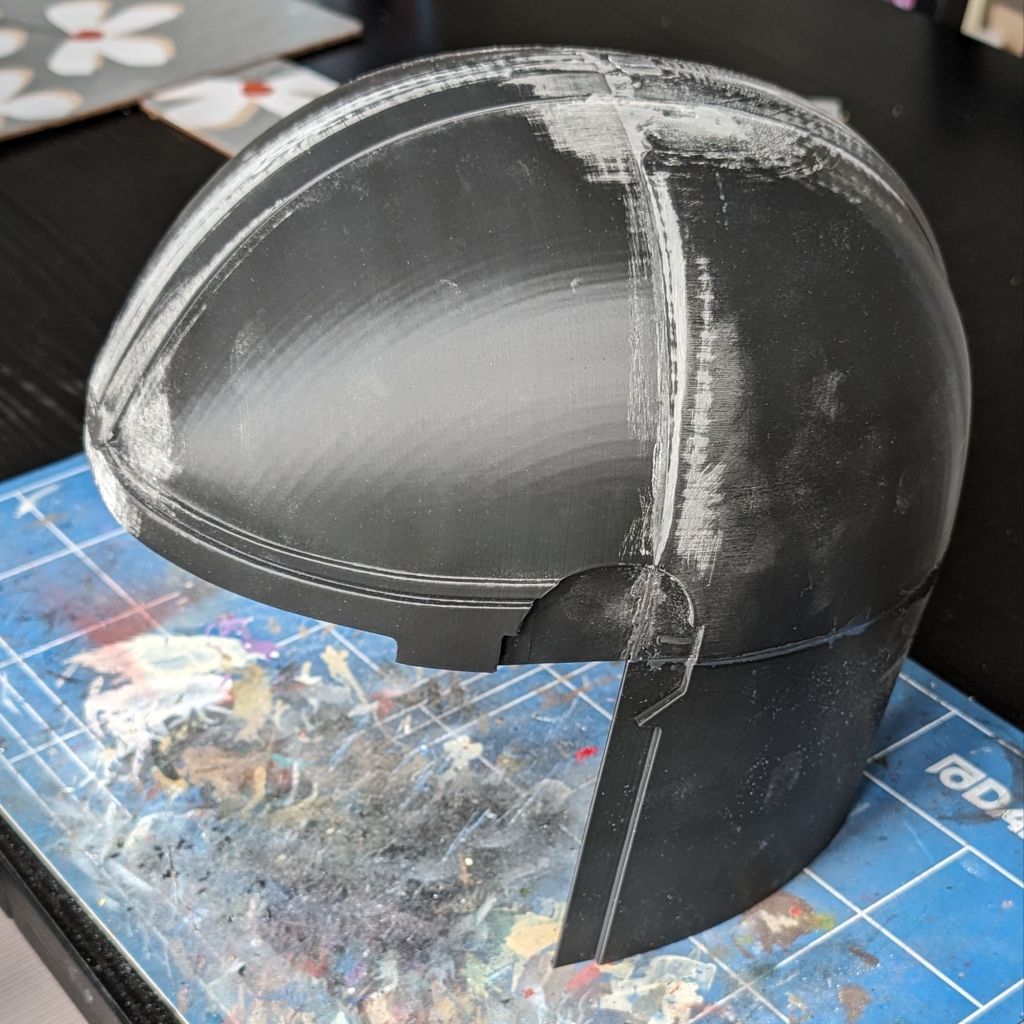
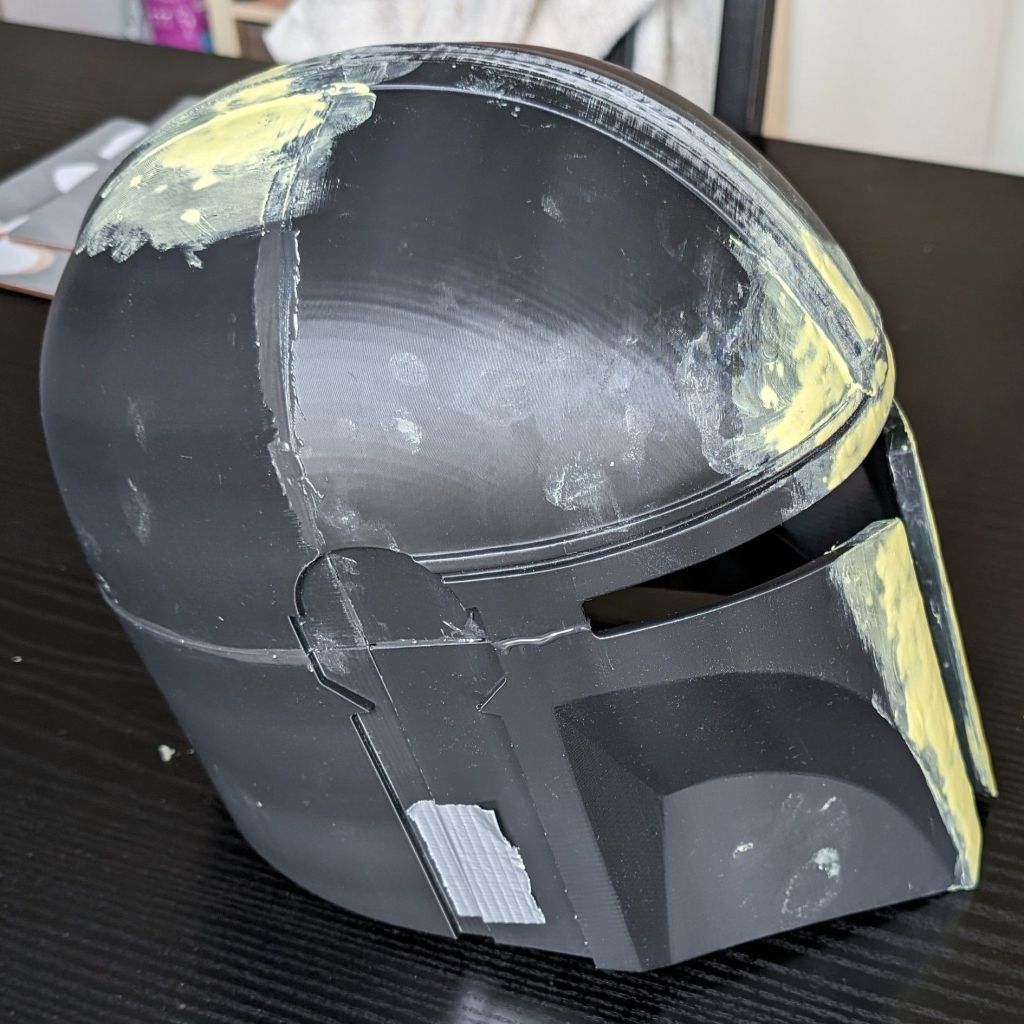
Now at this point I am realising how much work is required in getting a smooth enough surface to stand a chance of getting that shiny polished look. I thought using some milliput on the worst surfaces would give me a chance of getting a smooth finish. However it also dawned on me that this was a kids costume not a full on cos play outfit. It was just as likely to come back from school in pieces as whole. So I gave up on the nice smooth finish I had originally intended.


The helmet is actually pretty big. It needs padding out for an adult, so it really needed it for my son. I simply cut up some cheapo bath sponges and glued them inside the helmet.
Ah, I should probably mention that I could have scaled the armour, before printing, to make it child sized. I decided not to for two reasons.
- I didn’t really know how much smaller to make it.
- I wanted to try it on 😉
The visor was made from one of those clear plastic face shields we saw every where during COVID. I coated that with glass tint film. Then cut it down to size using the 3d printed template.
After a coat of grey primer followed by silver spray the visor was simply taped to the inside.

I didn’t photograph the rest of the armour. They were printed and sprayed silver. The body armour was mounted on an old GoPro chest harness with velcro and plastic clips.
And it all ends up looking like this…
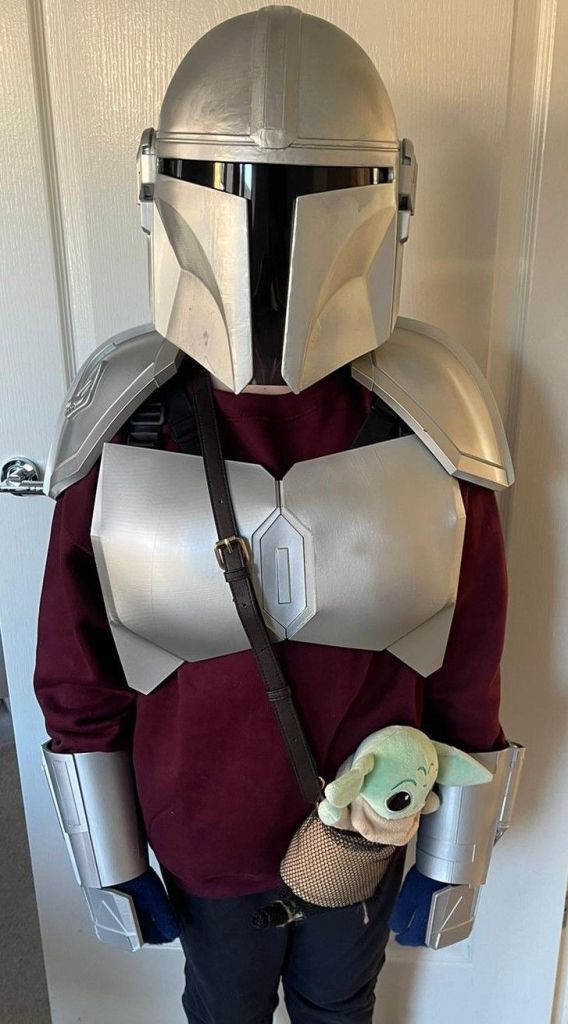
With added proof of book…

For a brief few days I was “The Best Dad EVER!!!” Having made my 9yr old the coolest kid in school for a day.
And of course I got to try it on too 🤣

*blog posts have been a bit lacking but I sold my Ender3 last October and bought a Bambulabs P1S. It’s been awesome 😎
Thanks for reading. Here’s the usual affiliated link section. Use the link and I’ll get a small kick back from your shopping. Element Games (get double element crystals using code DAV615).
