After posting my Pathfinder Dronbot up on-line, I got a lot of positive comments about the base it is mounted on. I figured I would do a small series of articles about how I go about making the bases for my Infinity models. This is the last of a series of 3 posts talking about my Infinity base toppers.
- “Basing my Infinity: Part 1“
- “Basing my Infinity: Part 2“
- Painting bases.
Hopefully I’ll show you how I went about creating the bases that I am using on my Panoceania models.

This article will go through the painting process for the bases. They say a picture speaks a thousand words. Thankfully this allows me to not have to type much, but this article is picture heavy!
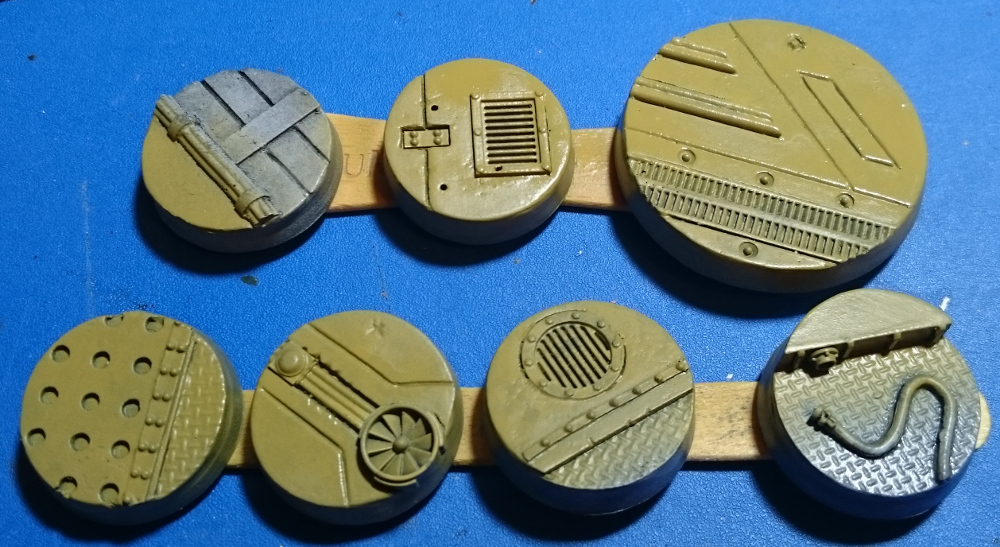
Step 1: Undercoat
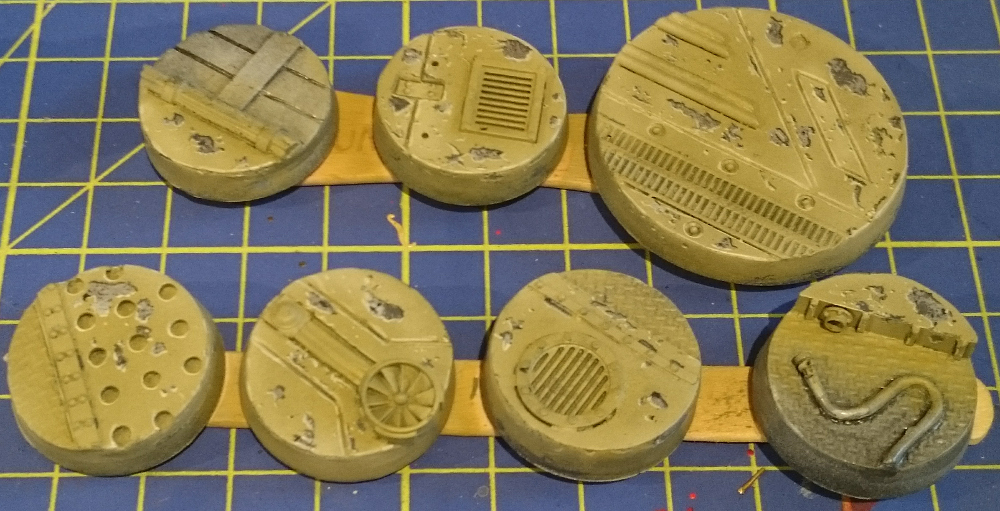
The bases were sprayed black , and then given a coat of light grey.
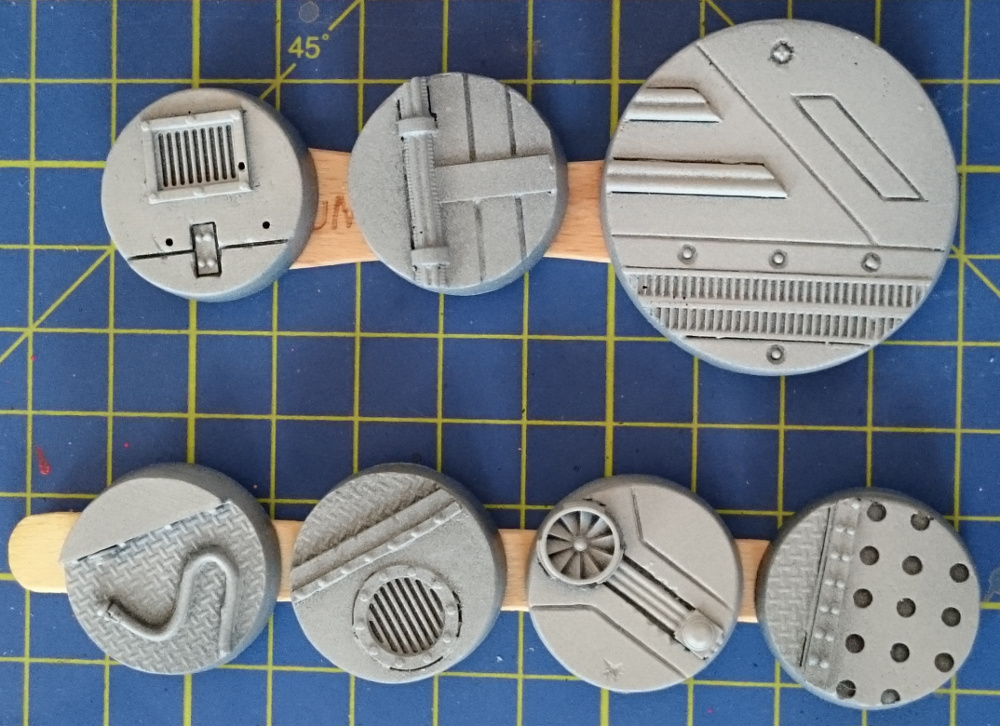
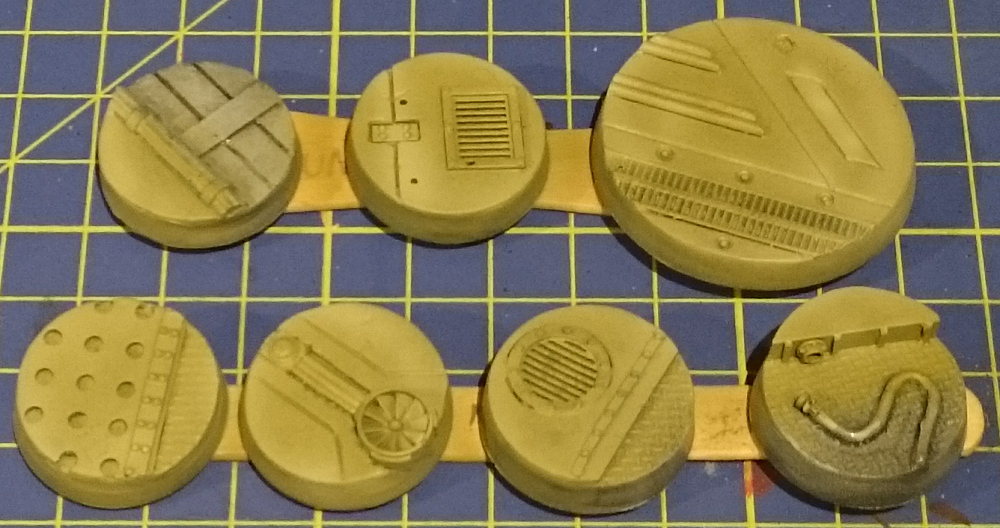
Step 2: Texture
I used a ripped up piece of blister pack foam to dab on a random pattern of paint onto the base. Using two different colours. First a dark grey.
And then a medium grey.
Hopefully this looks more like concrete flooring.
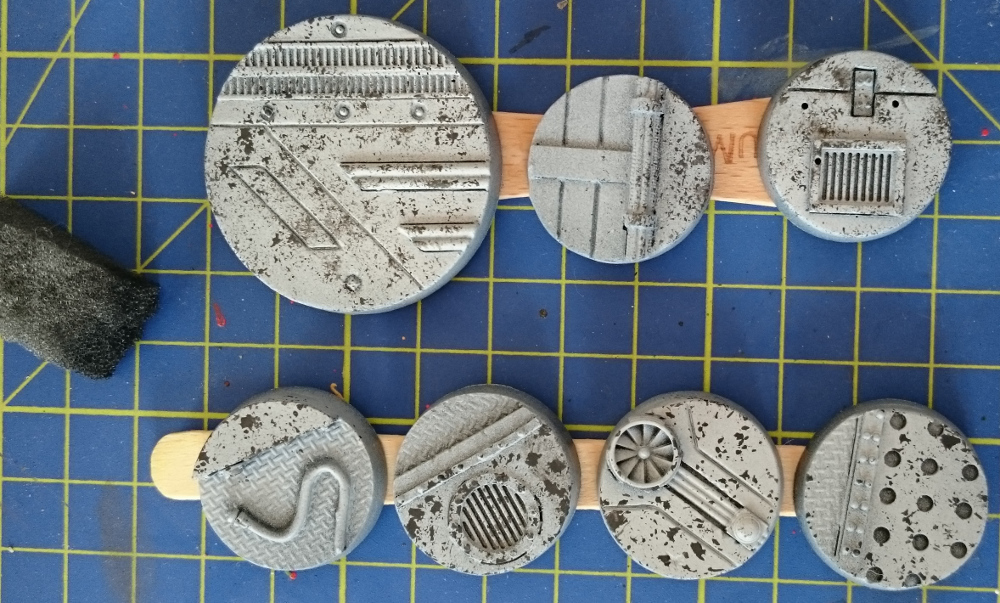
Step 3: Not much to see here
Once dry the base was given a coat of gloss varnish.
Once the gloss varnish had dried the bases where then given a coat of AK interactive Worn Effects Liquid.
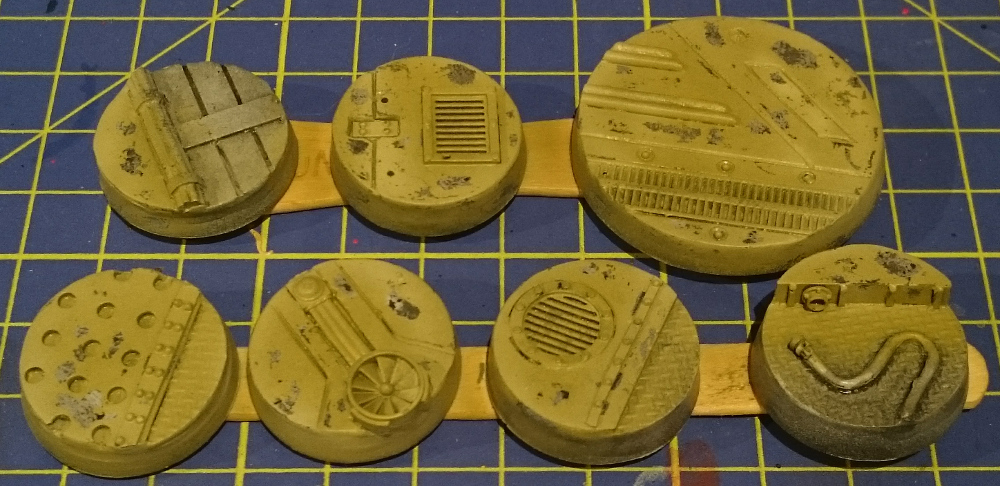
Step 4: Painting the concrete floor.
Once the chipping fluid has dried I gave the bases a coat of paint, in this case using dark yellow.
Then followed up with a quick subtle highlight using sand.
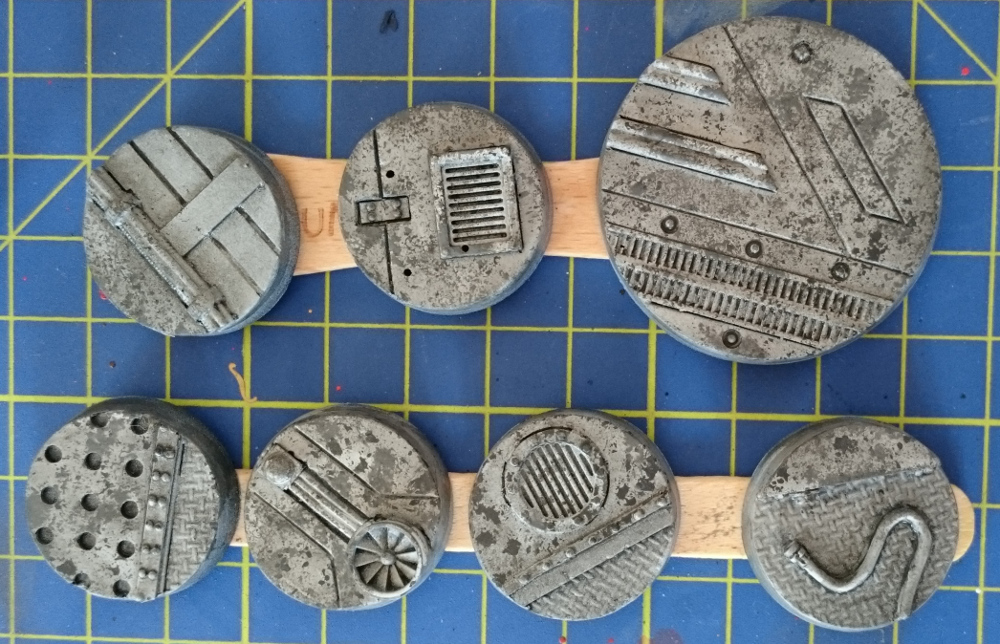
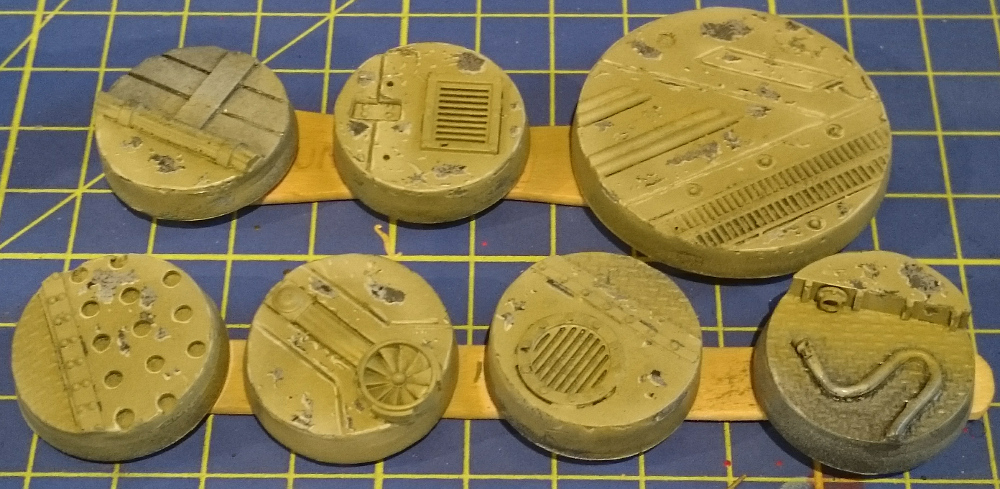
Step 5: Chipping
Using an old knackered brush (a well and truly splayed paint brush 😉 ), dip it in water and gentle rub the paint. After a little work the paint will start to lift. If it doesn’t you can scratch a little of the paint away using something like a cocktail stick . Then go back to using the splayed paint brush, this will allow the water to get to the chipping fluid to enable it to dissolve that layer enabling the paint to lift. Work the surface gentle to achieve the level of weathering you want.
Once you are happy with the level of weathering you could give them a coat of matt varnish to seal them, preventing further unintentional weathering through handling the base. I haven’t done this, as I don’t intend to handle the bases much at all, and if I do I’ll be holding them around the rim away from the painted surface.
Step 6: Highlighting the chips
The chips on the bases are highlighted and shaded. For this to work you need to pick a lighting direction, and most importantly be consistent in its use across the base. The edges of the chip furthest away from the light are given a highlight of ivory sand.
The edges of the chip closest to the light are given a shade of dark grey.
The highlight/shade is stronger the closer the line is to being perpendicular to the direction of the light. The highlight/shade gets weaker to being non-existent the closer the chip edge gets to being normal to the direction of the light.
The image below is a rather poor set of photos of the same set of chips, the light direction is coming from the top right corner of the picture. So the highlighted edge of the chip is on the bottom left and the shades closest to the light source on the top right of the chips.

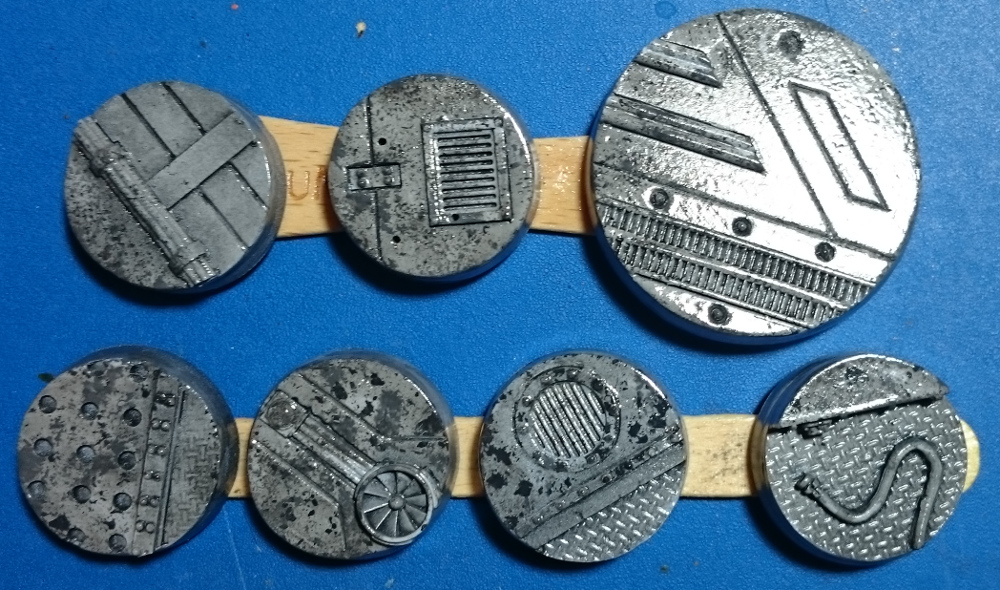
Step 7: Metal work
I didn’t want to use metallic paint to represent the metal and my NMM (none metallic metal) techniques are non-existent, so I am saying all metal work has been painted grey. Hence I blocked the remaining areas of the bases in dark grey.

Then a quick coat of dark mixed with medium grey leaving shading around the edges to separate these areas from the ‘weathered paint work’. Then medium and light greys were worked on to the base to finish the metal work. Finally the entire base is given a wash of Army Painter Soft Tone.

Step 8: Lighting
The 40mm base has some recessed lights in it, or at least that’s what I think they are 😉
The light is given a nice coat of white paint. The area surrounding the light where I want the surface to reflect the light (otherwise known as OSL object source lighting) is given glaze of thinned white paint.

The light is painted with the chosen colour, and that same colour is glazed over the previously white glazed area. Finally the light is highlighted up to white.

Step 9: Finishing touches
The fan on the 25mm base has worn hazard stripes painted on it, as does the piping on the 40mm base. The stripes are initially painted brown, Idrian flesh in this case, then a yellow-orange. Chips are added in grey paint to match the under lying metal grey. These are then highlighted with a bright yellow, and shaded with a dark grey.
The cabling and connectors on the other 25mm base are painted, and some red ‘hazard signs’ to add a little detailing. Finally the edges of the bases are painted black.


Sorry his article has ended up a bit rushed, so if you have any questions use the comments below.
Paints Used
Paint colours used generally painting the bases:
- Vallejo Acrylic Polyurethane Primer 601 Grey
- Vallejo Gloss varnish
- AK interactive Worn Effects Liquid
- Vallejo 71081 Tank Dark Yellow
- Vallejo 71075 Sand
- Vallejo 71054 Dark Grey Blue
- Vallejo 71097 Grey Primer
- Vallejo 71050 Light Grey
- Army Painter Soft Tone Ink
Paints used for lights and finishing touches, although I may still be missing some:
- Formula P3 Arcane Blue
- Formula P3 Necrotite Green
- Formula P3 Morrow White
- Formula P3 Khador Red Base
- Formula P3 Idrian Flesh
- Formula P3 Ember Orange
- Formula P3 Cygnar Yellow
- Formula P3 Cygnar Blue Highlight
- Formula P3 Frostbite

Pingback: Basing my Infinity: Part 1 | Splayed Paint Brush
Pingback: Basing my Infinity: Part 2 | Splayed Paint Brush
Pingback: Infinity Defiance Valkyrie | Splayed Paint Brush