In an earlier post I showed off my assembled Willy Miniatures’ Chaos Chosen team. Figured I’d post an update on how the painting is going.
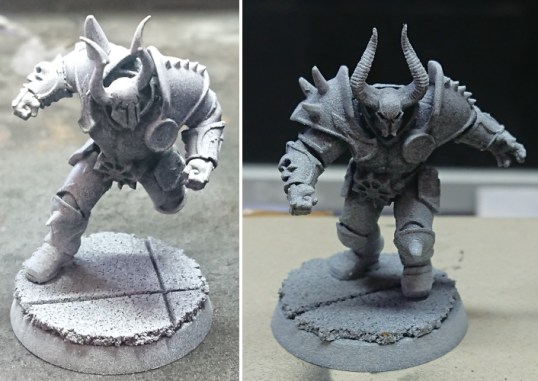
First up the team were given series of black, grey and white rattle can sprays. This was intended to be a zenithal undercoat although rattlecans aren’t necessarily the most accurate/reliable tool for this process.
I’d decided to try and keep a simple colour scheme, to try and ensure a quick paint job and that they get finished (at worst) before the end of the league. I also picked on colours I haven’t used in a while; purple armour and gold trim. I decided to have a play with the non-metalic metal (NMM) gold style (again) on the trim.
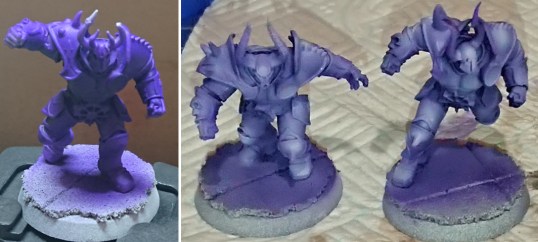
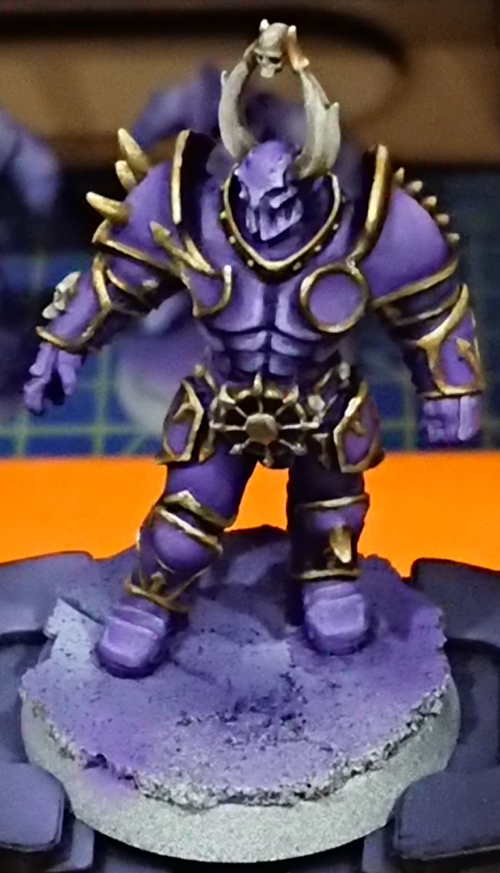
The purple was applied with an airbrush, I’m out of practice with the airbrush, and saw this as an opportunity to try and get some usage practice with it. The zenithal undercoat was given a coat of VGA Hexed Lichen (EG link), left image above. Followed by a highlight of VGA Alien Purple (EG link), and a final highlight of White, right image above. All of this probably rendered the zenithal undercoat redundant – maybe I didn’t think that through to begin with lol.
Now one thing that this does demonstrate is my lack of accuracy with the airbrush, like I said I’m out of practice. These are much larger minis than the Infinity minis I’ve painted in the past with a similar technique, and so was expecting to achieve much tighter highlighting and shade but I didn’t. It feels like I’ve managed to effectively repeat the zenithal coat but with purple. Anyway enough of my shoddy excuses…
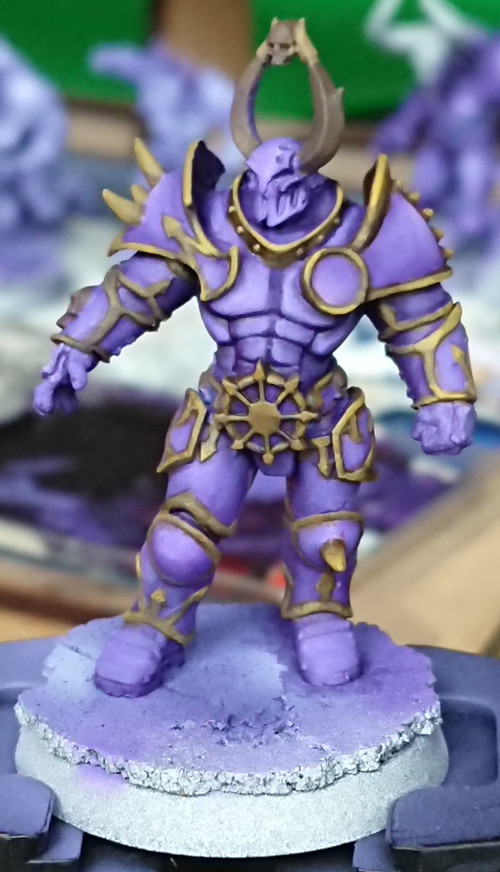
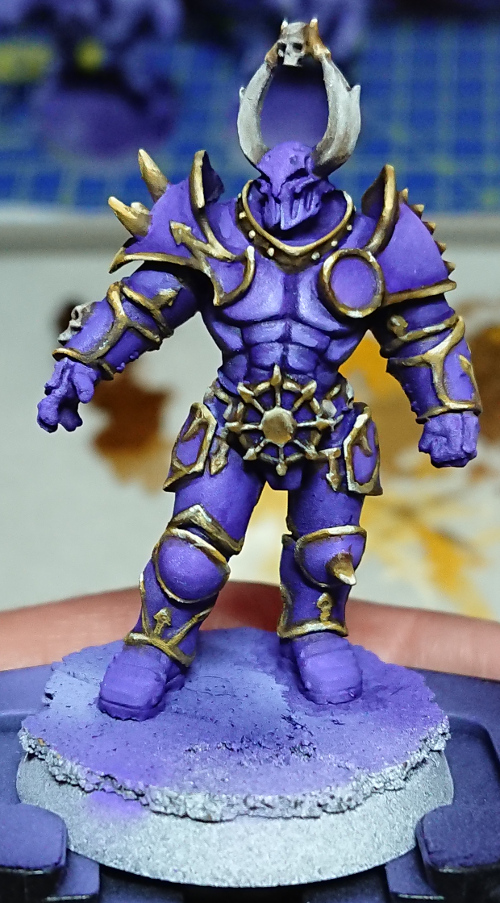
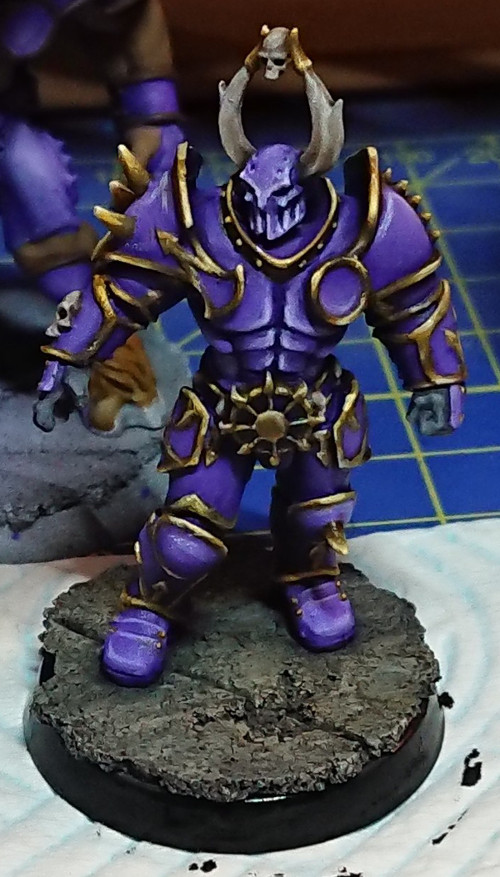
I mixed the Hexed Lichen with a spot of black, and thinned it down a bit so I could go round and paint all the recesses in the joints, effectively panel lining the armour. I then shaded the armoured with Hexed Lichen, and reapplied Alien Purple in nice thin layers. Finally a white and Alien Purple was used as a final highlight. I concentrated the highlights to the faceplate and chest, trying to draw the eye to a natural focal point, probably best seen in the last warrior image – also means I have less highlighting to do 😉
After all the idea behind a small colour palette was to get these painted quickly to play with them.
The gold trim was given a base coat of VMA Medium Camo Brown (EG link) Camo Black Brown (EG link). This probably was not necessary given the opaque nature of the paints about to be used – my next warrior might skip this step. I did also paint any skulls and horns this colour too.
The skulls and horns were VGC Khaki (EG link), and then layered by gradually adding more white to teh mix. Then a pure white highlight finishes the job.
The trim got painted VGC Heavy Brown (EG link), followed by a VGC Sepia Ink (EG link) wash. Then its just a case of highlighting up from the Heavy Brown, through VGC Heavy Gold Brown (EG link), mixing in white, and going right up to a white highlight. I believe the key to NMM is hammering home the contrast changes – albeit from a novice’s point of view. Having the white highlight next to the darkest colour really helps makes the trim pop. Looking at metallic surfaces this is what you see, however what I have not done it tried to have a consistent light source, but rather a general over all high up defused light. This ends up so I can paint what I think looks good rather than what the surface would actually yield in terms of reflected light. I think this approach makes the process a bit easier. That and I don’t have any large panels to paint but small thin sections of trim.
The above paints form part of the Vallejo NMM set (EG link), I bought this a while ago and it comes with an instruction sheet with a description of painting an aged gold and a steel with the eight paints in the set. If you don’t have any suitable paints and want to try NMM technique out I would recommend the set.
To emphasise the highlights I went back with a glaze of the Sepia Ink to darken the shadows. After that the white highlights looks too big, so I then glazed the gold with thinned Scale 75 Inktense Yellow (EG link). Once dry I went back and placed smaller white highlights on the trim.
I felt I needed to add some other colour – or lack of colour – to break up the purple. The gloves ended up dark grey, and although this model has not had this done, I think future warriors may get a grey ‘undersuit’ to their armour. The glove was painted VMA Dark Sea Grey (EG link) and highlighted with that grey mixed with a little white. A final black wash finished the glove very quickly.
The base was given a coat of Dark Sea Grey and then a heavy dry brush of the base coat mixed with white, and a lighter drybrush with white. I then gave the base a wash with black/sepia mix, followed by green and brown wash splodges in different locations. Just to dry and give a bit of interest to the pretty much flat surface. The rim was then painted black.
I have a few finishes touch still to do…
- Varnish! I suspect they are going to spend a lot of time knocked down 😦
- I want to paint a number on the round plate on his chest.
- Finally, I think some sort of grass tufts or flock to add some interest to the base is needed.
Now while I was working away on this model on Sunday afternoon my lad, Joshua, came up and asked if he could paint like me. Now it just so happens that I’d been digging out old Blood Bowl models recently, and as a result I’d “shown him how to play” the weekend or two before. Hence there was a old 3rd edition human team to hand. So below is a picture of my 5 year old son’s first painted table top miniatures. 3 colours minimum = tournament legal!
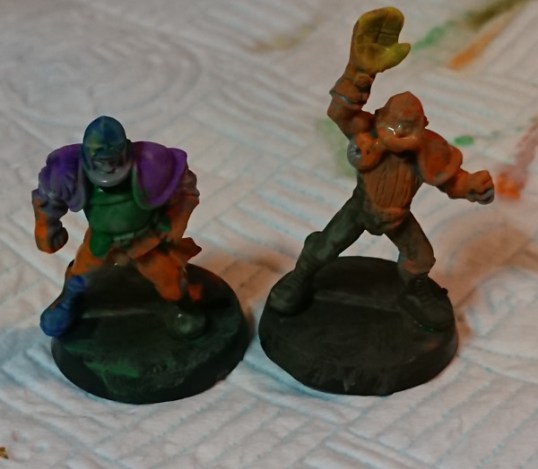
He was particularly proud of the muddy field they are playing on and hence muddy boots 🙂
[Yes – this is a proud Dad moment too lol]
Through the article I have linked to the relevant Element Games product pages for each paint I’ve used. The Element Games links, along with the Goblin Gaming link, are affiliate links – I earn a commission on what you spend via the links. I don’t earn commission from Rogue Games but it is the place I play. If you like what you see here, feel free to support the blog by purchasing your hobby products at any of these webstores via the links on this site. Thanks for reading.

Pingback: 5 on Friday 15/11/19 – No Rerolls