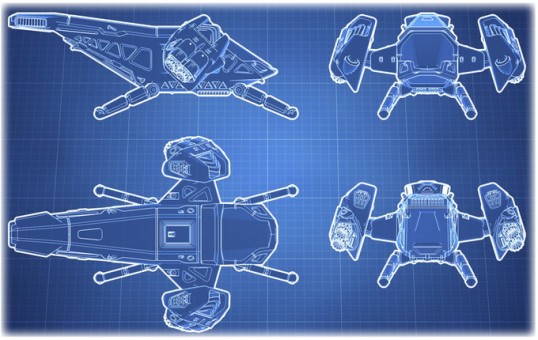
 In my last post I assembled the Creality Ender-3 3D printer I bought with my birthday money. In it I mentioned a Kickstarter project, the Chicharra SciFi Hopper, being the impetus for getting the printer in the first place.
Now you get to see the printed product.
There are two versions of the model, a civilian version and a military version. The first one I printed was the civilian variant. Purely because the part count is lower, and no options what so ever to decide upon. Now in my last post you’ll have seen the first Chicharra aft fuselage print where it ran out of filament. Well after I bought some white PLA filament, I reprinted that part and carried on with the rest. Maybe buying white PLA was a mistake – its certainly very hard to get good photos of the printed parts!
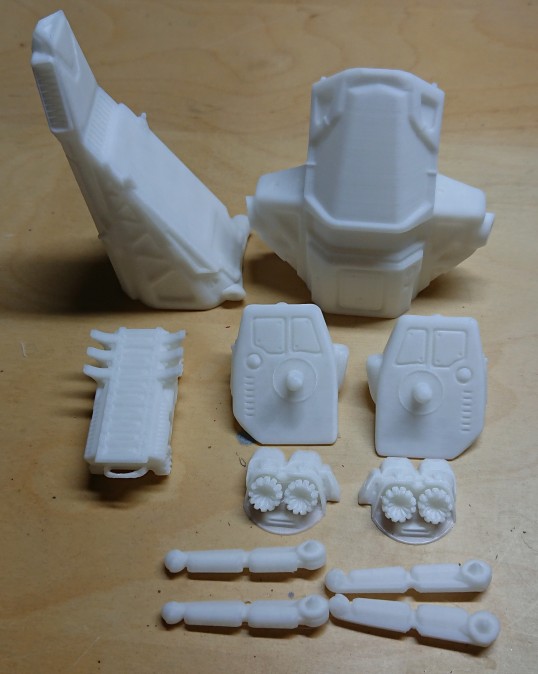
The above picture shows all the civilian version’s pieces.
- Top left – aft fuselage.
- Top right – forward fuselage.
- Centre left – Taxi-bot, one of the cool little extras from the kickstarter; this one is an aid during assembly.
- Centre right – the nacelles and below their thrusters.
- Bottom – the four landing legs.
The legs are possibly my least favourite part of the model, I think I would have preferred some sort of skids. However that might have detracted from the scifi feel of the model abit.
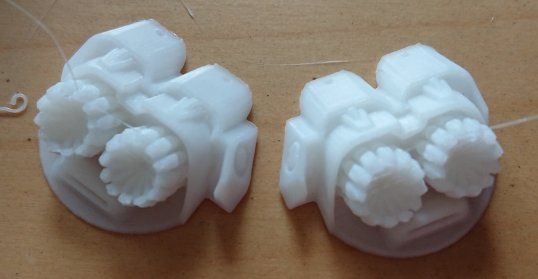
Probably the most challenging parts for the printer of the Chicharra were the thrusters, see above. The petals of the nozzles are really small and ‘spikey’ and didn’t come out that clean a print. I’m not sure the picture above really shows them clearly. However I have cleaned them up a bit before assembly with a sharp knife.
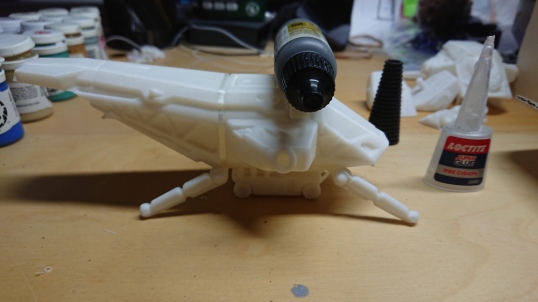
Speaking of assembly, the above picture shows the ‘Taxi-bot’ in use, holding the fuselage at the right height to allow me to glue the legs on. The fuselage was heavy at the stern and the paint pot was there to balance it on the Taxi-bot.
The other thing of note during assembly was the right nacelle fitted and pivots nicely in the fuselage. The opposite hand was really stiff to get to fit and didn’t pivot much at all. Swapping the nacelles to their opposites sides proved to me that it was the hole in the fuselage that was the main issue. I used a 6mm diameter drill bit to clean out the hole in the fuselage. This did the trick, although the left nacelle is still stiffer than the right to pivot.
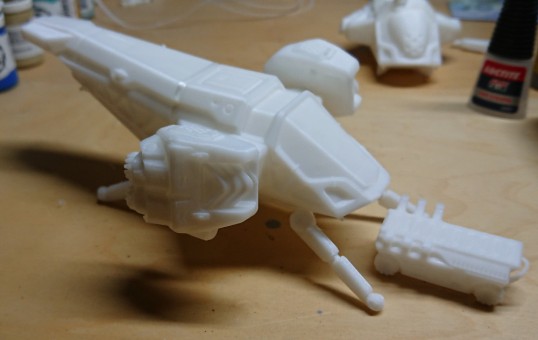
Above is the completed Chicharra, civilian variant, with Taxi-bot moving out from underneath. The eagle-eyed amongst you may notice a subtlety different Chicharra in the background. That is the first of the printed pieces of the Warbird version…
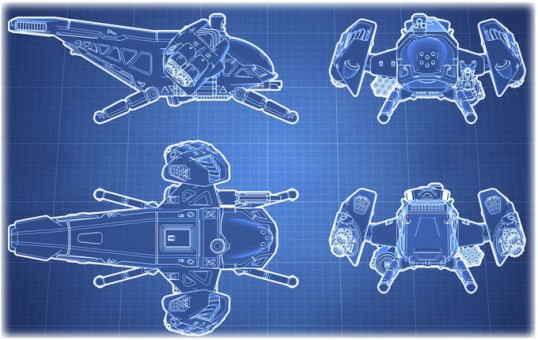
…maybe in the next post 😉
the kickstarter is over is there any way to get the chicharra minis now?
I don’t know, I believe the creator is looking in to ways to do that. Check out this forum post for a way to contact him.
http://forum.corvusbelli.com/threads/chicharra-3d-printable-hopper.1548/