Following on from my previous post about building/cobbling together a version of Warhammer Quest, in this post I make some moulds to cast resin tile sections…
Quick Recap
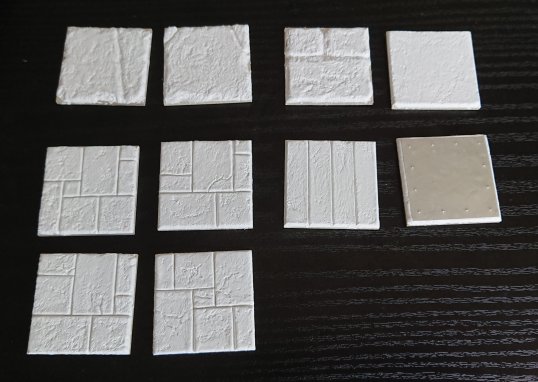
These are the master tiles I created, they are 40mm x 40mm square. The intention was to makes casts of these, and use the casts to create larger 2×2 tile panels, 80mm x 80mm in size, and make casts of these too. This will enable me to cover the board sections quicker with less joints to worry about. After all the joints would more than likely need some sort of grouting carried out, and there was always the risk of misalignment at a joint, so the less joins the better.
Mould Making
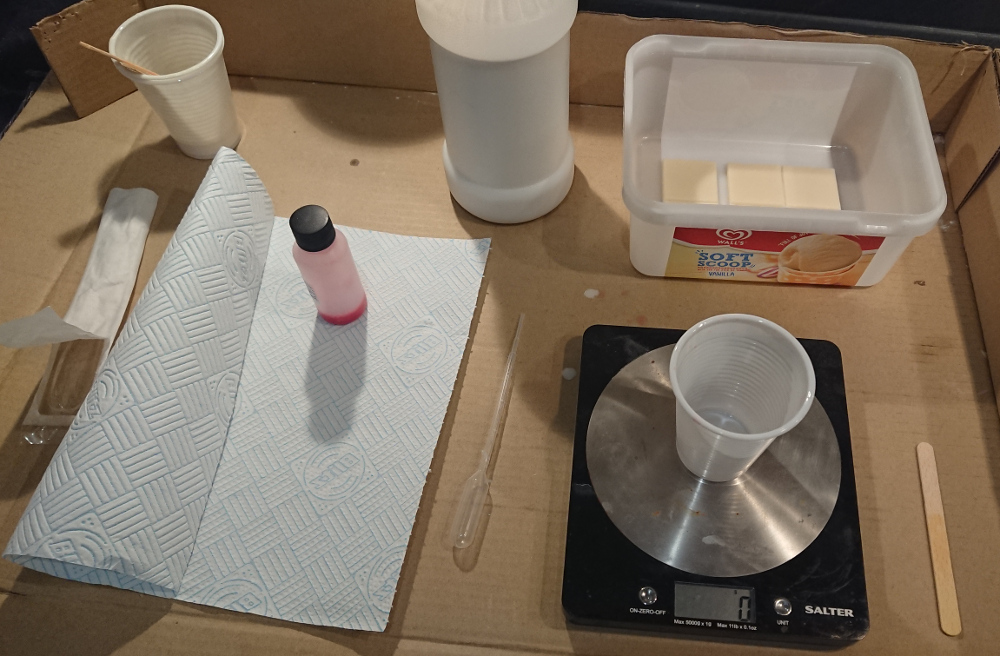
Here is a list of the materials I used:
- Digital scales
- plastic cups for mixing
- lollipop sticks for mixing
- pipette/syringe
- silicone
- ice-cream tub mould boxes
- resin
- talc
- PPE – gloves, glasses.
- Prit-stick
Prepping The Mould Box
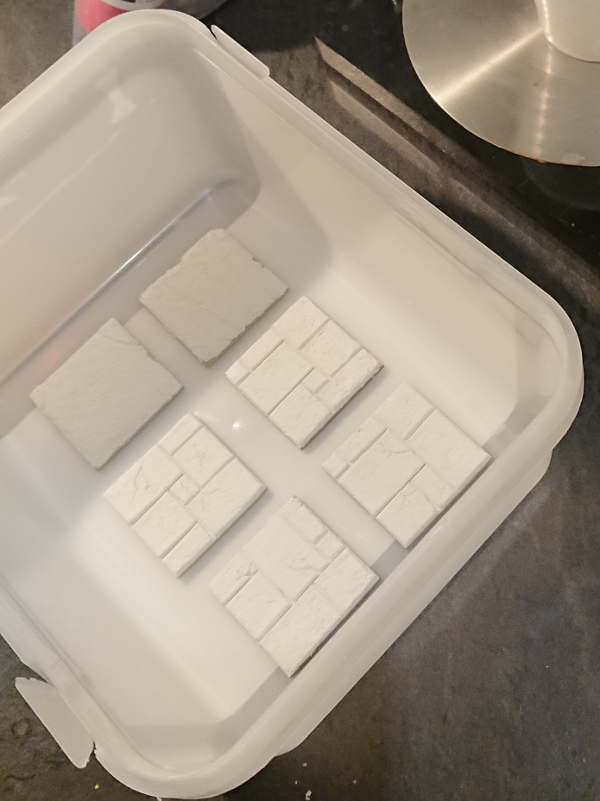
I had collected a couple of ice-cream tubs over the summer, I thought these would be be perfect mould boxes for the making the moulds. So I glued the 40mm square tiles to the bottom of the tub with prit-stick (not a strong glue so its easy to remove things later). The 40mm square tiles were placed 6 per tub.
Mixing The Silicone
Its worth noting that this can be messy, so protect yourself and your work area appropriately. I laid out a sheet of cardboard on the worktop and wore gloves. I also had some kitchen roll ready in case of any spillages/mess. I had everything I needed to hand, just being prepared to do the job makes it so much easier.
The silicone is mixed with a catalyst in a specific ratio, as I’m typing this my mind has gone blank on that. I think it was 1ml catalyst for 20gms silicone. or 50:1 silicone to catalyst. The product i bought has a red dye in the catalyst to aid mixing.
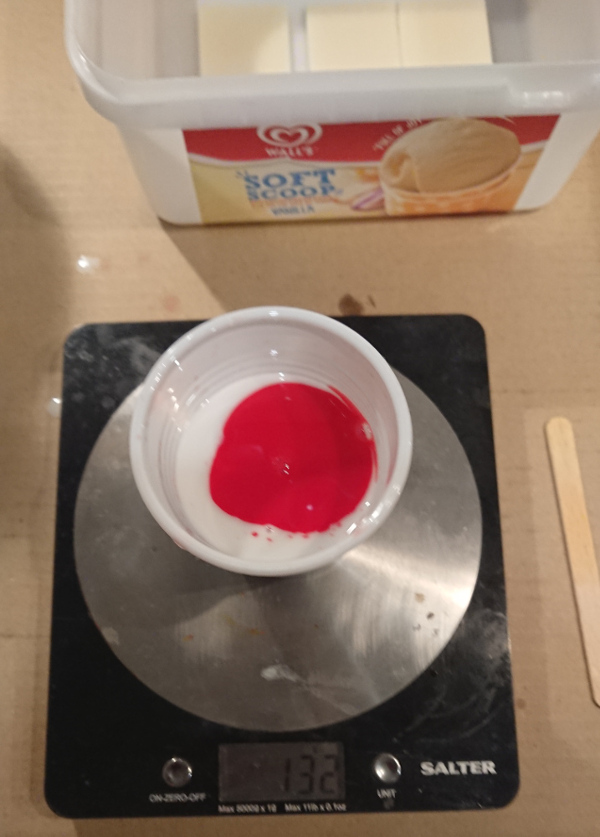
Next up i use a lollipop stick to stir the silicone unto the mixture is one tone of red. Trying not to mix in too much air, although this is a difficult thing to do.
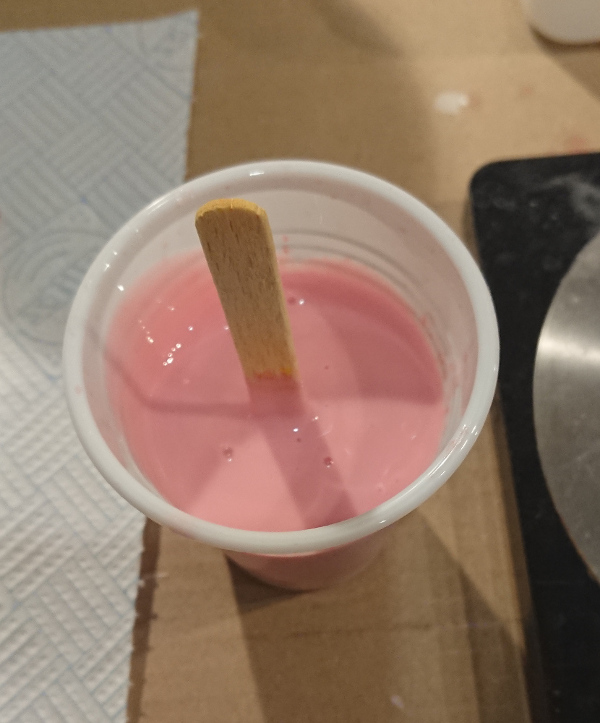
Air bubbles are difficult to avoid. However they can be mitigated by how you pour the silicone into the mould. If you pour slowly from a height the silicone necks down into a thin stream which tends to pop any entrapped bubbles. Note I’m also pouring to one side of the mould box too.
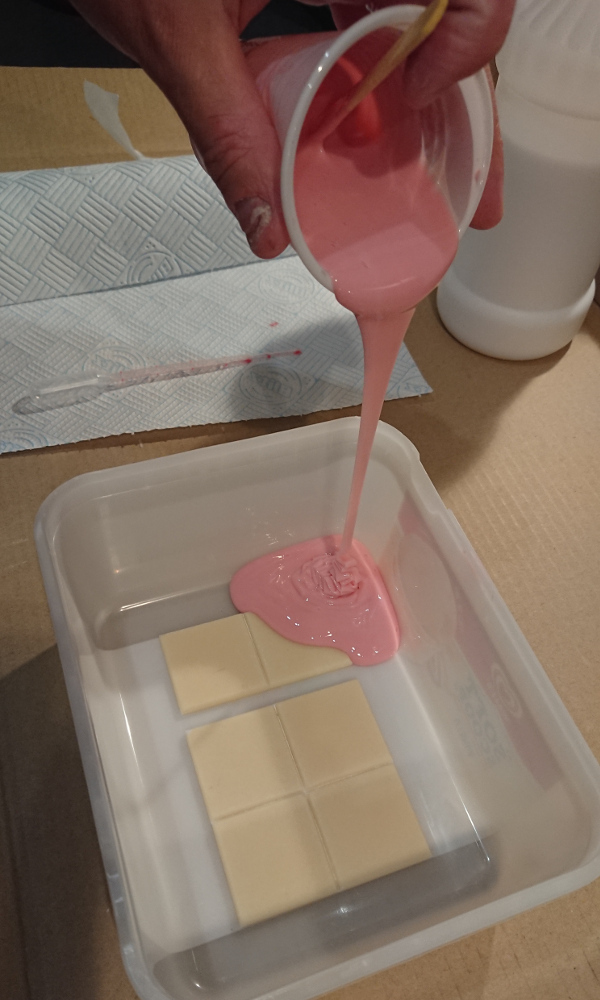
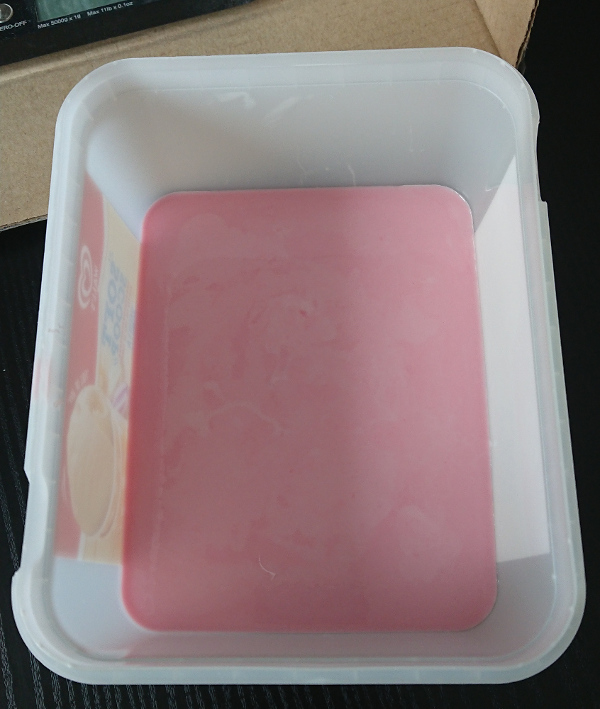
Once the silicone has been poured put the mould box aside on a level surface to cure.
Demoulding
Demoulding was easier than I expected, I think the inner surface of the ice cream tub is very smooth, and so the silicone separated from the tub’s sides with only a gentle flexing and pulling apart of the two. I was expecting to have to cut the ice-cream tub. As it stands I’ve used the ice cream tubs 2 or 3 times now.
This wasn’t all plain sailing though, I did have some issues. When I demoulded my initial tiles, the DAS modelling clay stuck to the silicone and the MDF square remained stuck to the ice cream tub.
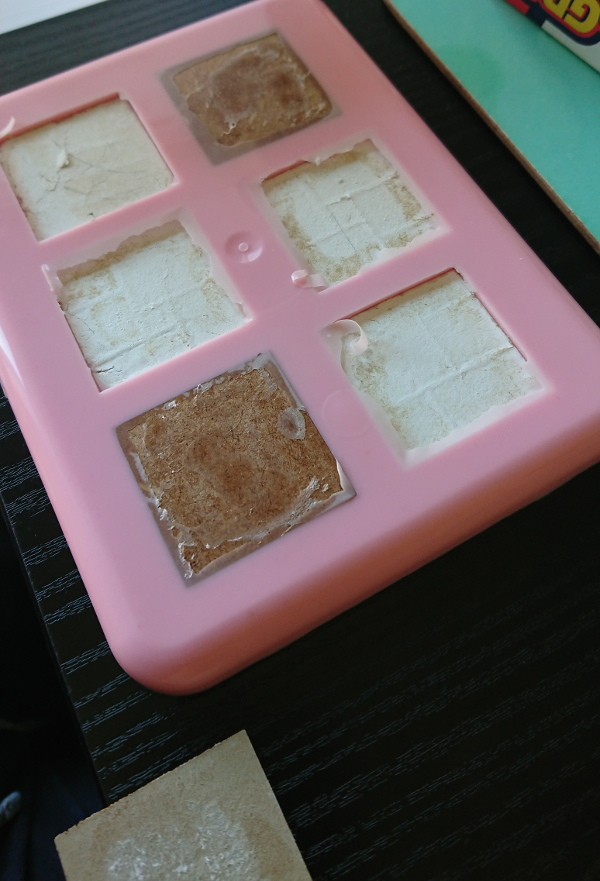
I wasn’t too disappointed with this, as the mould was fine once the DAS clay was cleared out. The clay actually came out easily, the bond between the clay and the MDF was just the weak link. As I didn’t know if I was going to use the master tiles again, I solved the jigsaw puzzles and put them back together, it was actually surprisingly easy.

This enabled me to distress the tiles more along the fracture lines of the tiles, as they were easy to see when reassembled.
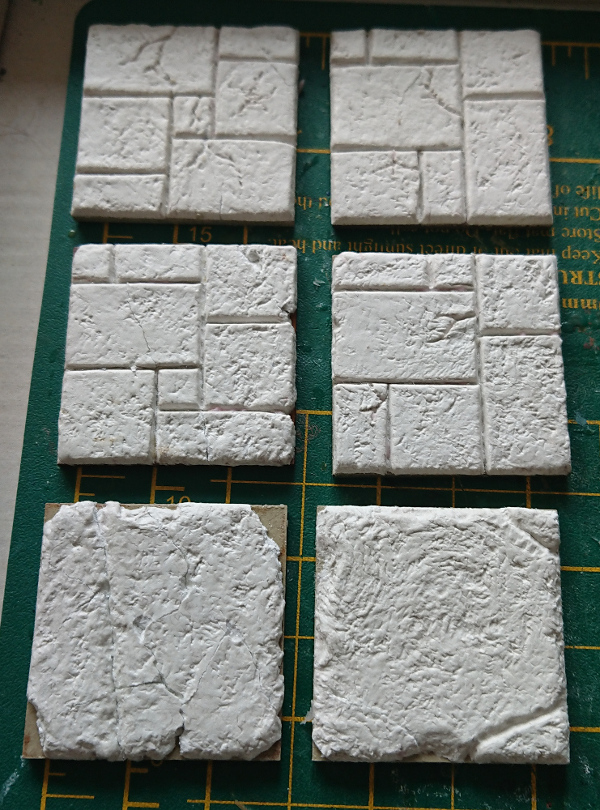
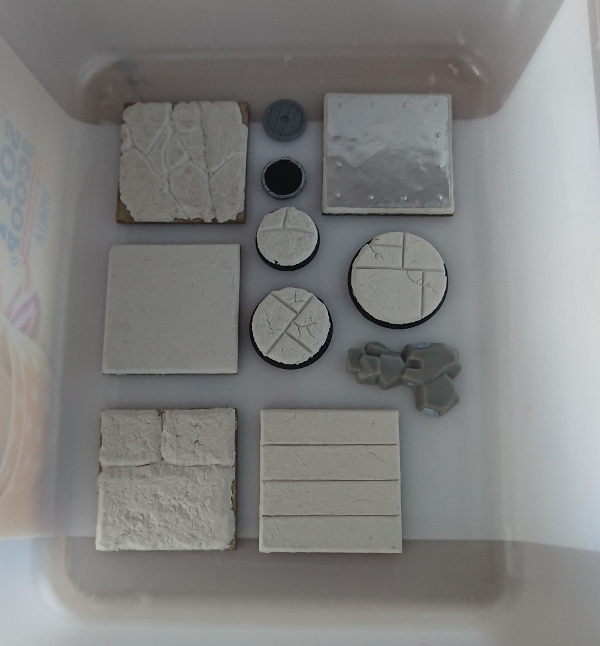
I didn’t just make moulds of the tiles. I also cast some bases I had made in the same manner as the tiles, as well as other bits and bobs I thought might be useful, some rocks from one of my lad’s toys, and some old round shields. Bottom left tile in above image is shown top left in image below.
The eagle eyed amongst you will have noticed the images in this post are obviously from making different moulds of the tiles, and are not just the first and only mould for this project. The process was the same for each mould, just my photography wasn’t 😉
Next post in this series will be about casting the resin tiles.
If you like what you see here on this blog please consider using one of the linked webstores. The blog earns a little commission on whatever you buy via the affiliate links. Goes towards keeping the WordPress fees paid thank you. I’ve also noted the free shipping thresholds, which I think are always worth bearing in mind (correct at time of writing).
- The Outpost – free shipping on orders £50 +
- Goblin Gaming – free shipping on orders £75 +
- Element Games – free shipping on orders £80 +
