Well Horus Heresy Age of Darkness second edition is just around the corner. Its spurred me on to actually start doing something with the models I’ve been slowly collecting in my WH30K pile of shame. Yes I know, the standard pile is so large I’ve been sub-dividing it to make it seem smaller and more manageable. This particular pile manifested itself a few years ago now with the acquisition of an unbuilt out of production Cerastus Assault Ram, but really took off with the release of the Dark Angels special units and the Lion himself.
So what was the first models I decided to work on? The gorgeous Inner Circle Knights Cenobium terminators? or the tasty Interemptors? Nope, I’ve started with the basic troops, a simple 10 man tactical squad in Mk III armour. If I ever end up playing HH then I’m going to need some basic troop choices. It also means I can afford to screw up the paint job/scheme on the less expensive models.

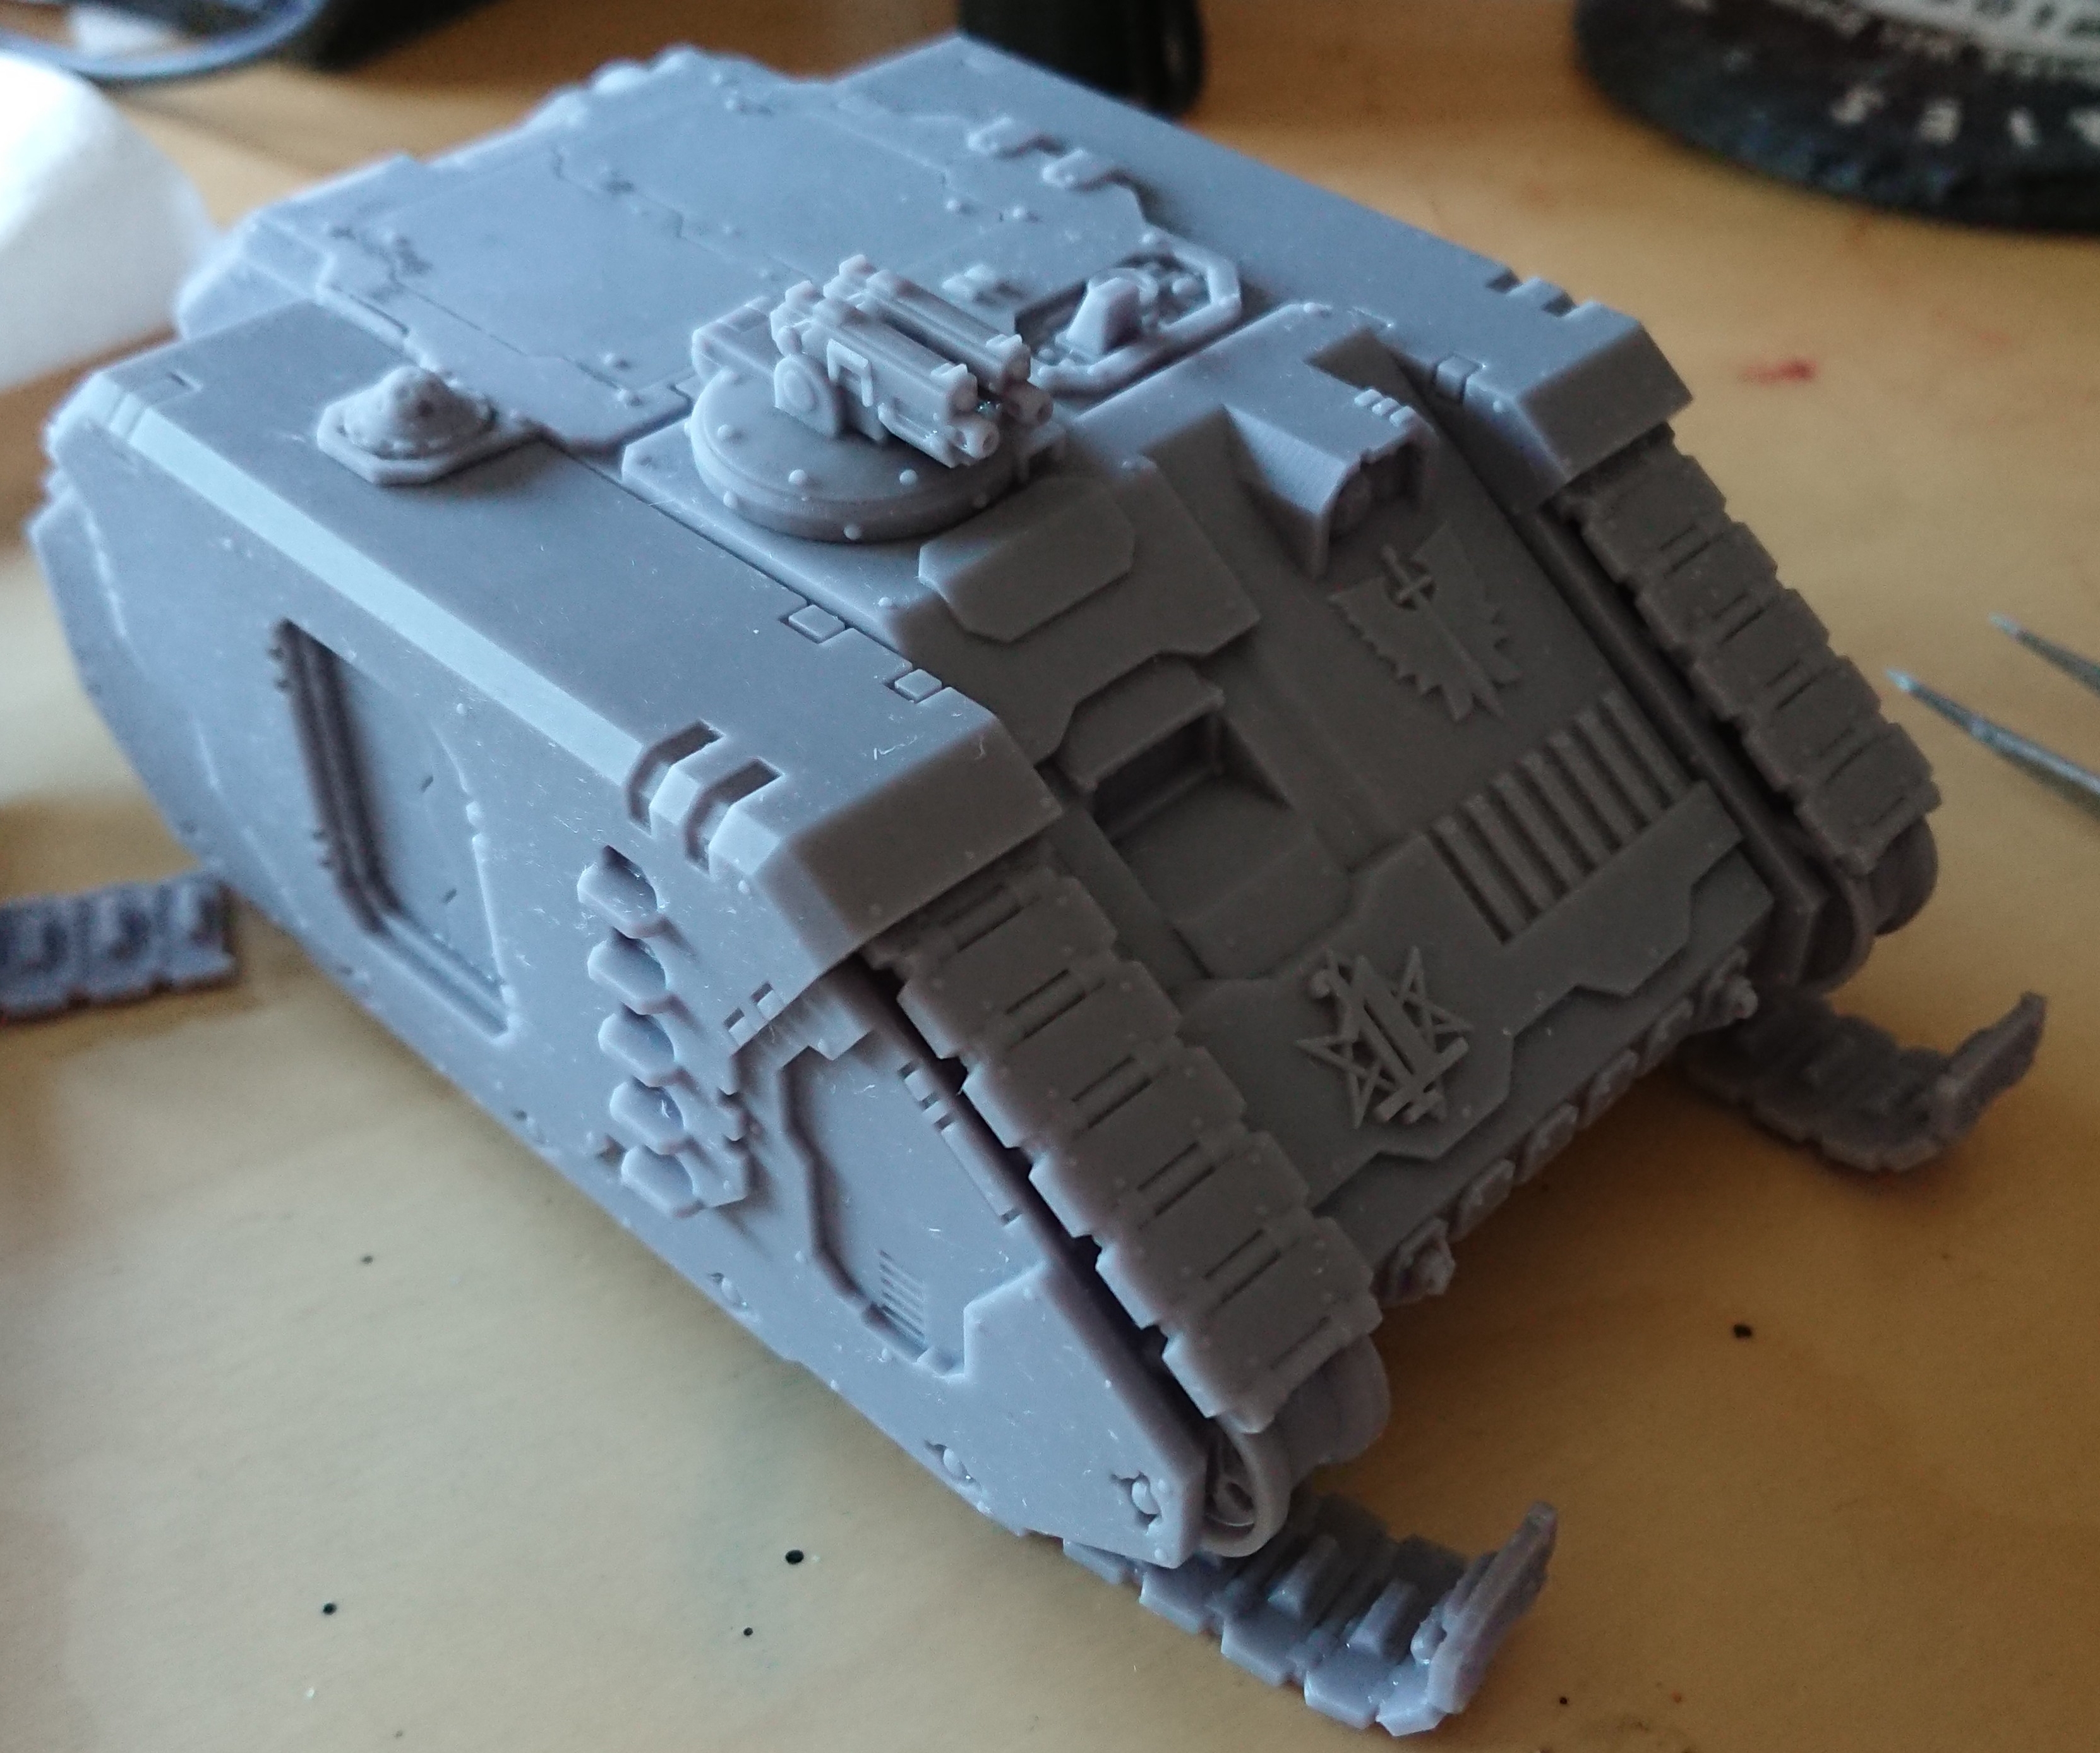
The models have been built for a couple of months, but only at the end of April did they get under coated. The models were assembled, but guns and shoulder pads not glued in place (just blu-tacked). I also printed out an Aion Advancer by Solwyte Studio to use as a proxy Rhino transport. I couldn’t help myself though, and I digitally added some Dark Angel symbols to the hull and I hunted around online for a top hatch and combi bolter STL to better represent a Rhino’s armament.
Obviously the pile has been building for some time, but that time has not been wasted, no sir, no procrastination at the blog! 😉 I wisely used all that time researching painting videos on YouTube looking for the perfect Dark Angel Legion paint recipe. I didn’t actually find that many, but there is one in particular by Cult Of Paint which I really did like enough to give a try.
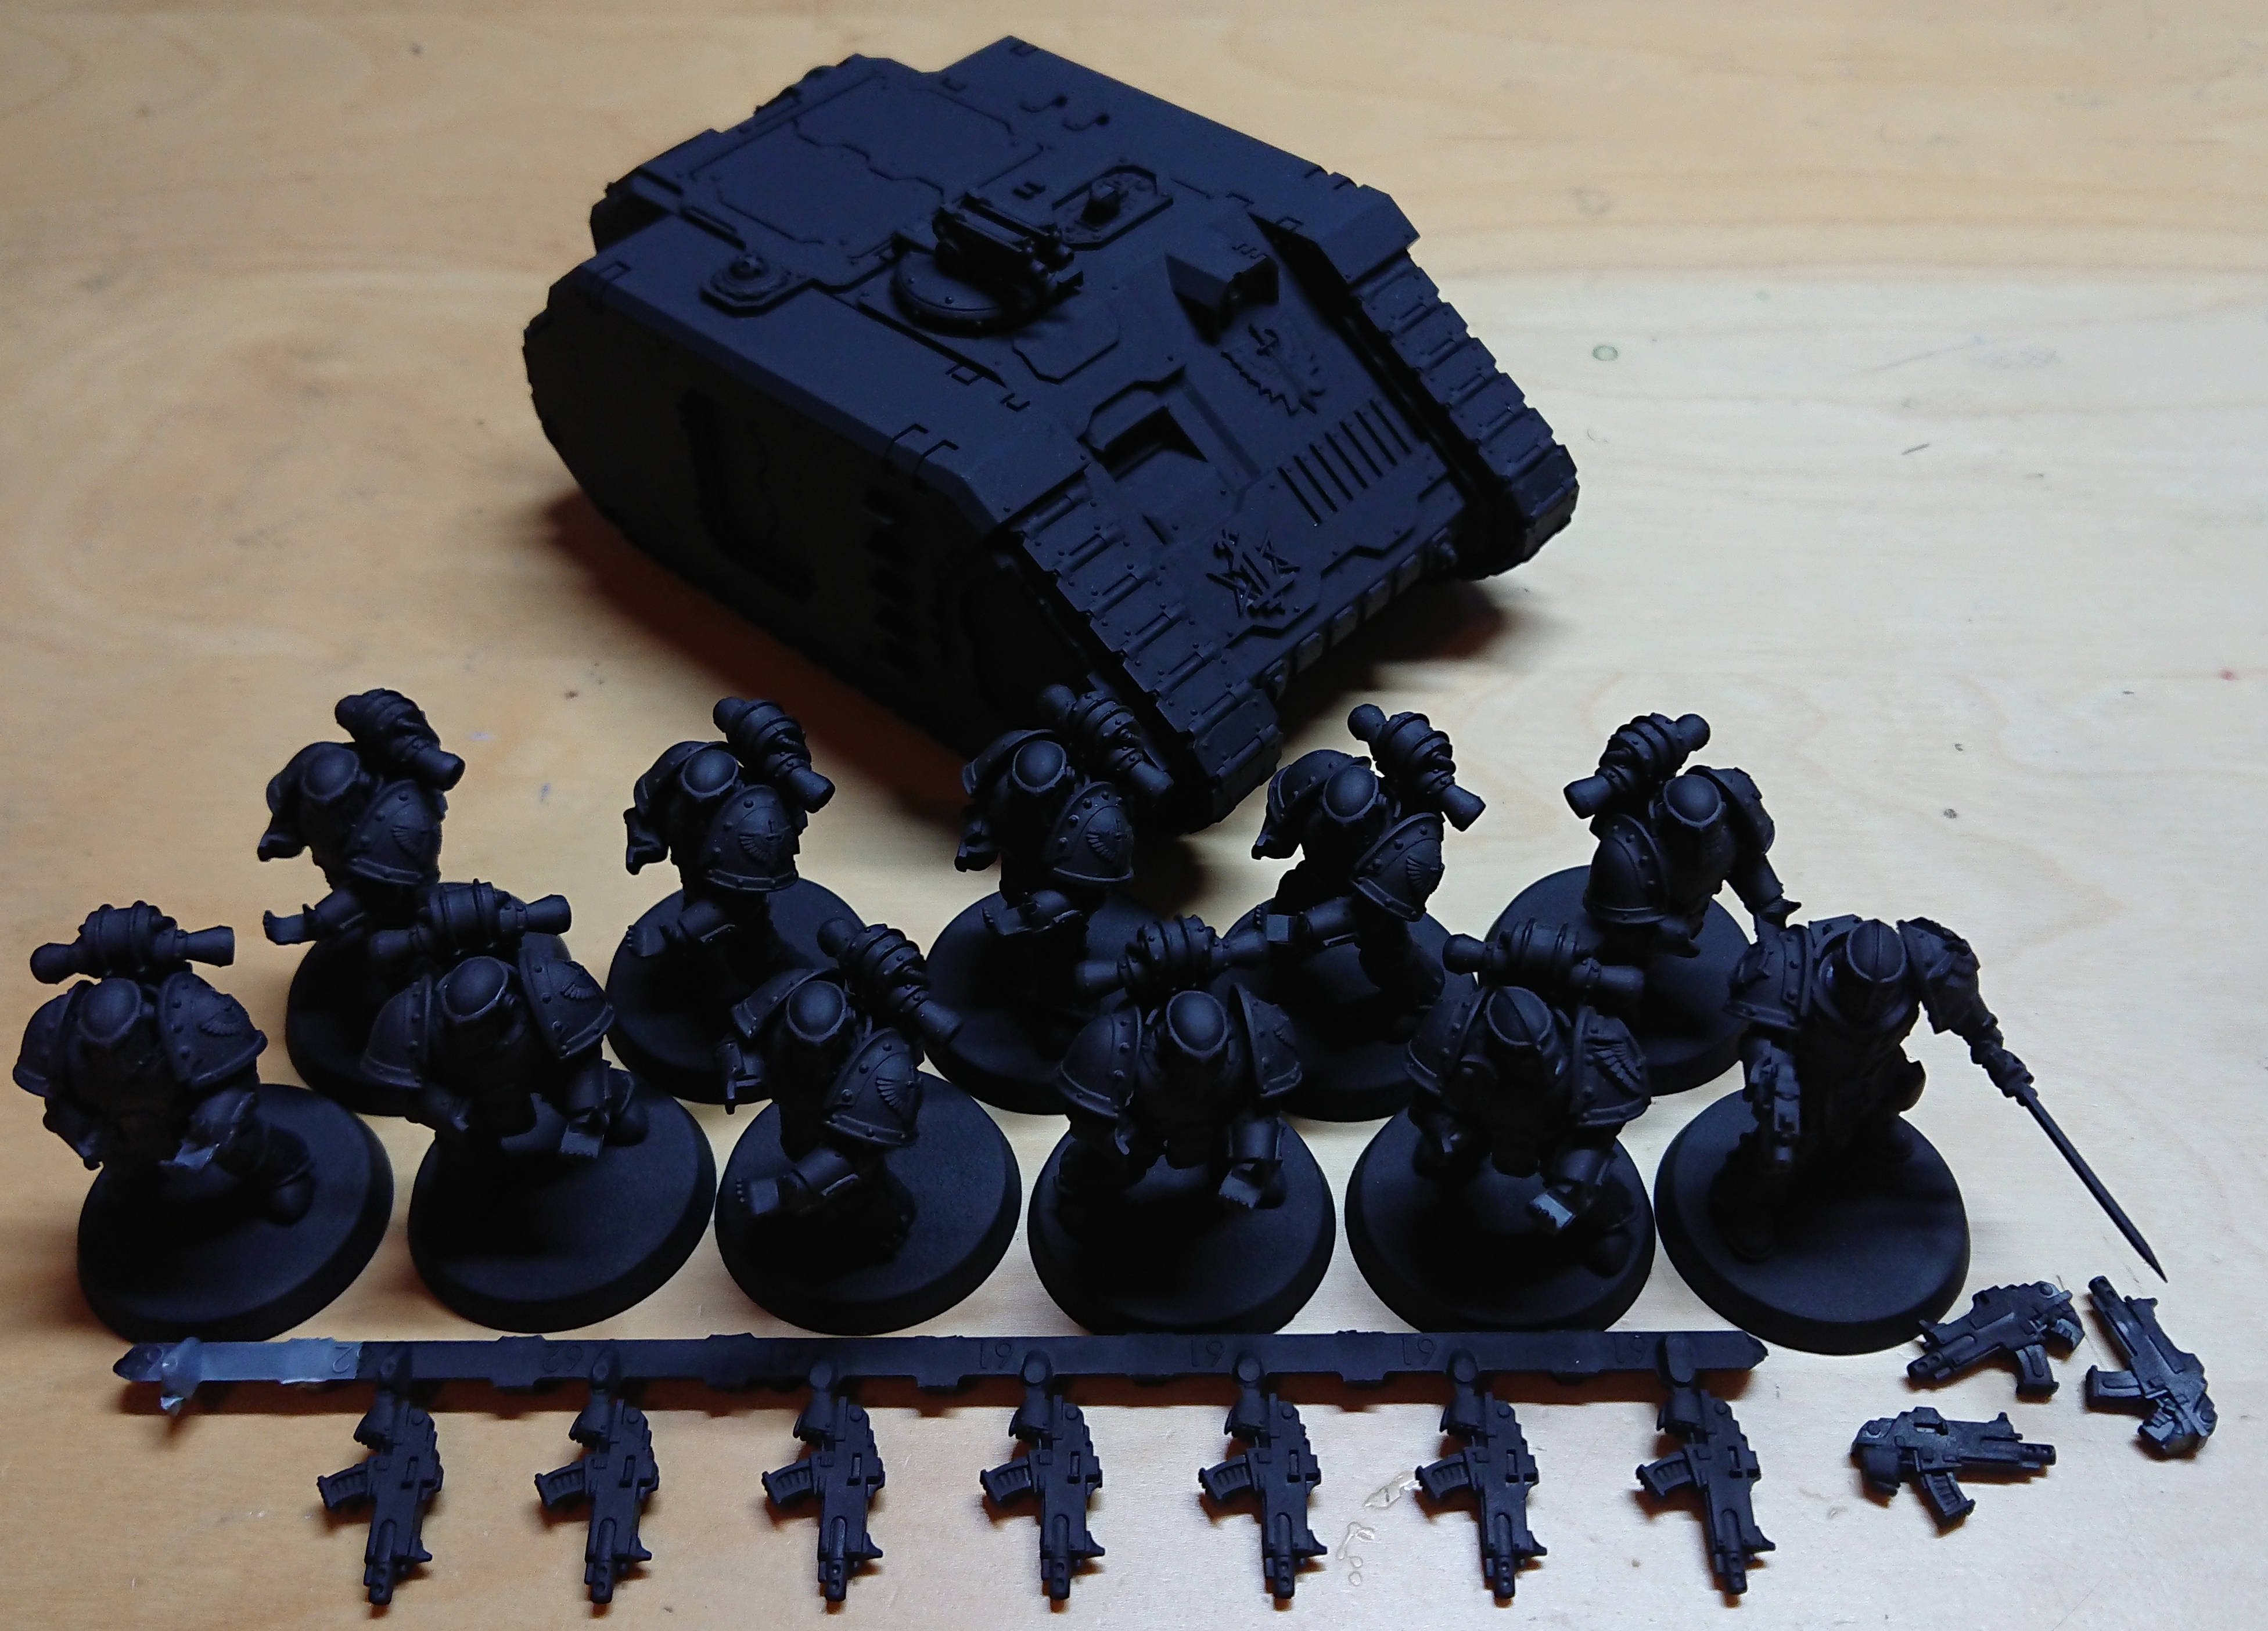
That’s a picture of the whole squad, and their transport. Now the eagle eyed amongst will probably have noticed that there is 11 models. I have printed off a squad leader model but when taking this photo realised I had forgot a back pack. So he has been side-lined unto I get a back pack for him. He’s a cool model so he’ll probably catch up with his squad soon enough.
With the models primed black, I broke out the airbrush to spray white onto them adding volume to the model which the next step would hopefully yield a nice easy green toned black armour. I must remember to go brighter with the white in future (you’ll see why in a minute).

You can see above that I’d removed the blu-tacked shoulders to airbrush the pads with Contrast Flesh Tearers Red (link). I also did the bolters too. Also you can see a tilting shield that will hopefully identify a squad leader once painted (STL here).
The green-black tint in this case was 3 parts Contrast Black Templar (link) and 1 part Contrast Dark Angels Green (link) paint. Well it looked green in the mixing palette.
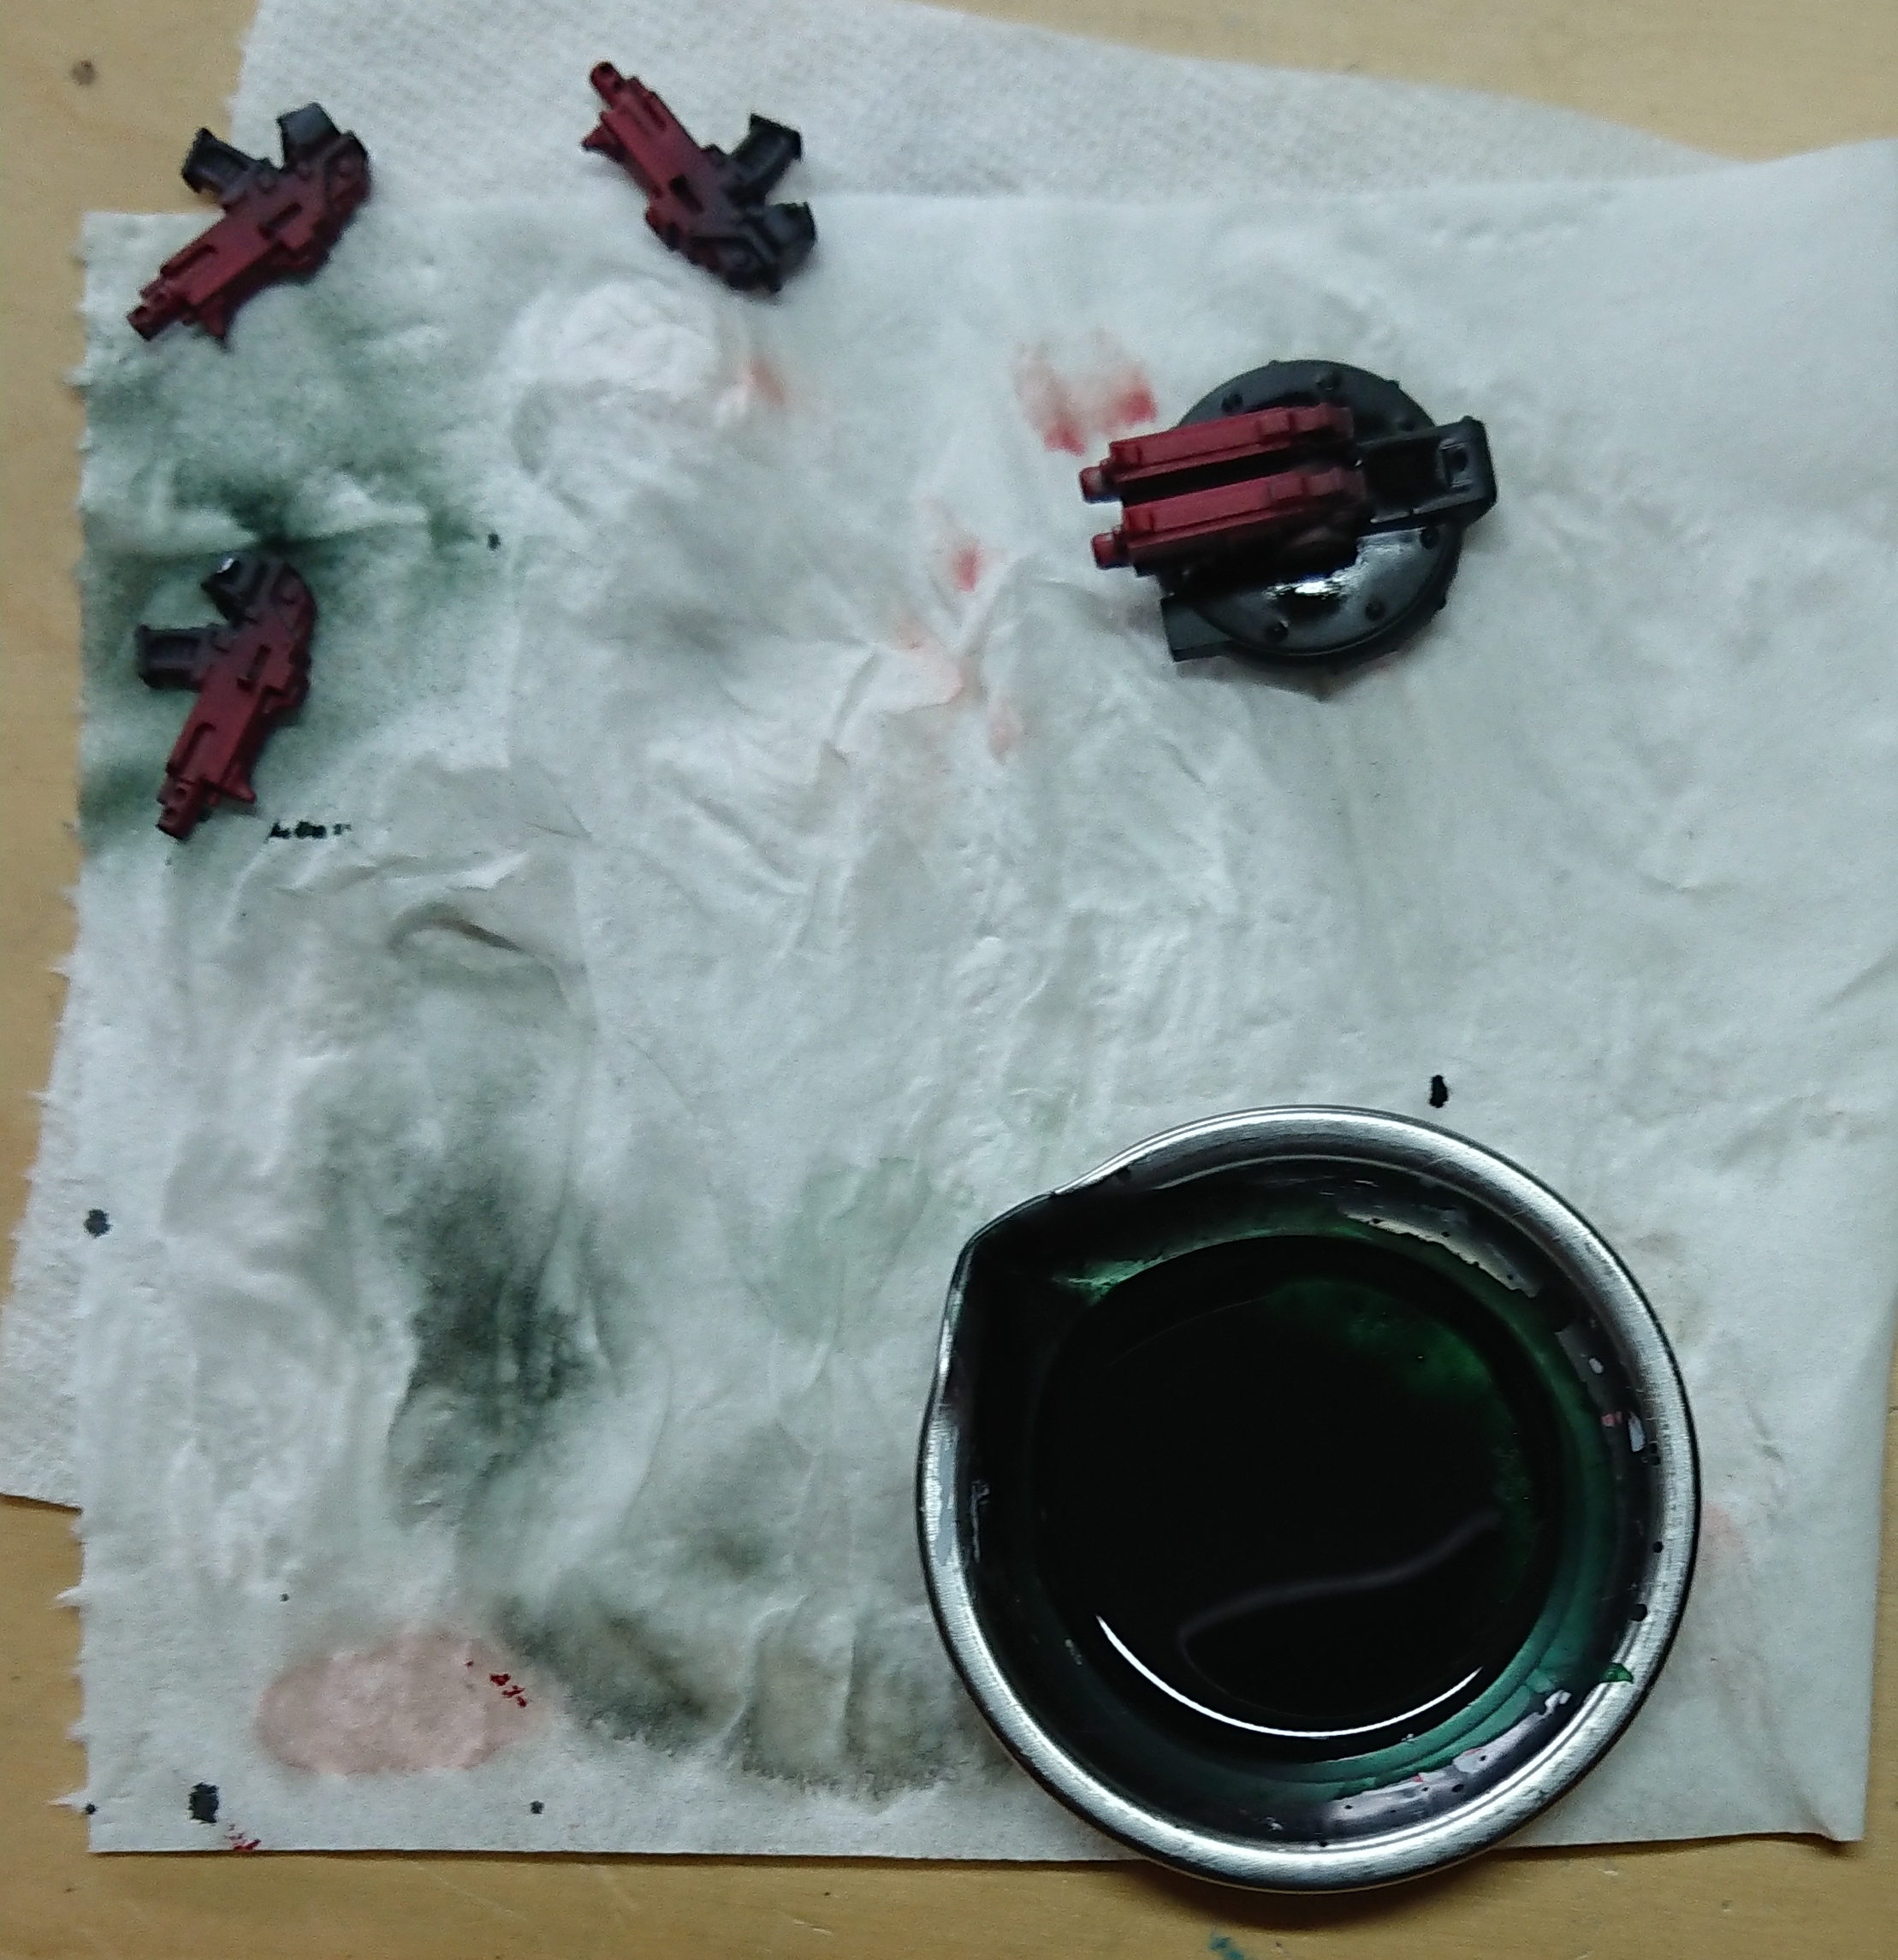
And this is where I realised I’d made an error. The tank, and the dude in the middle are the result of my painting session. The dude on the left (green bolter) was actually my test model from February, and the dude on the right is just primed black. I was aiming for green tinted black armour. I think I have ended up with much darker green tint than I anticipated.

There is still a way to go, having only continued with a single squad member to the next step of adding a coat of silver. I do feel I should go back a step and for the other 9 and redo the white airbrushing. I do think I did not go bright enough with the white to enable the green tint to show.
Hopefully I’ll be back with more progress very soon.
Thanks for reading – here is the usual affiliated links paragraph. If you’d like to support the blog, please consider making your own hobby purchases through one of the affiliate links. It doesn’t cost you anything, I just get a little commission which helps pay the WordPress fees etc. You can click the links below or the webstore banners on the site.
Element Games (get double element crystals using code DAV615), and The Outpost.

Pingback: Dark Angels Legion #2 | Splayed Paint Brush